I love this time of year especially for the smells and tastes of fall. One of my most favorite things to do this time of year is spend as much time as possible in the kitchen…cooking and baking and sharing my love of it to those around me.
One of my most requested fall recipes are these cupcakes. I get asked for this recipe all the time. This is usually what I am asked to bring for holiday gatherings. TO. DIE. FOR. Seriously! They are moist, flavorful, and ridiculously easy to make.
Go ahead and do yourself a favor and whip these puppies up…everyone will love you and you will love how quick and easy it was. Keep reading for the recipe.

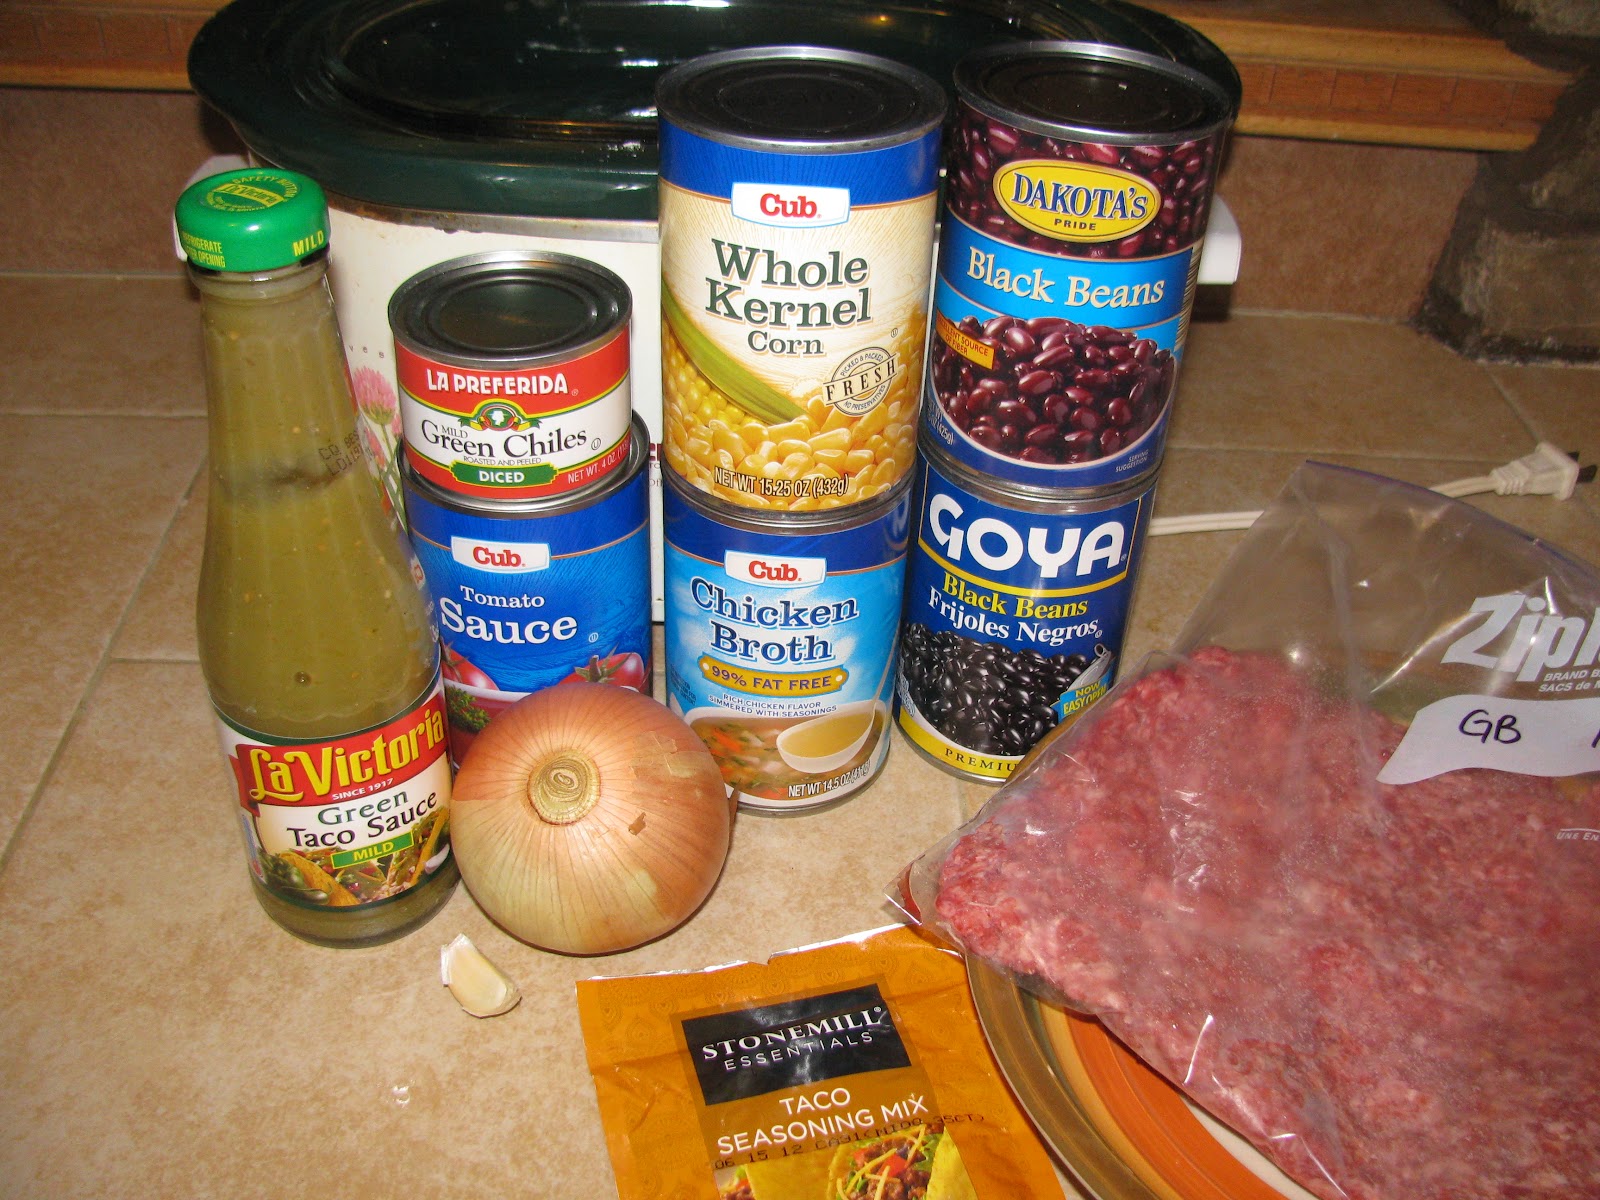
What you will need to get started. So far so good…..

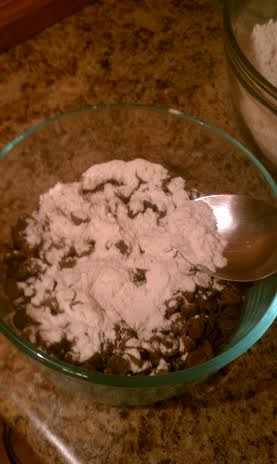
Take a minute to add some of your measured flour to the chocolate chips. Keeps them from sinking to the bottom.

Now go ahead and sift the rest of the dry ingredients and set aside. I know what you’re thinking “2-3 tsp of pumpkin pie spice? Isn’t that crazy talk?” Trust me, it works and it is awesome!

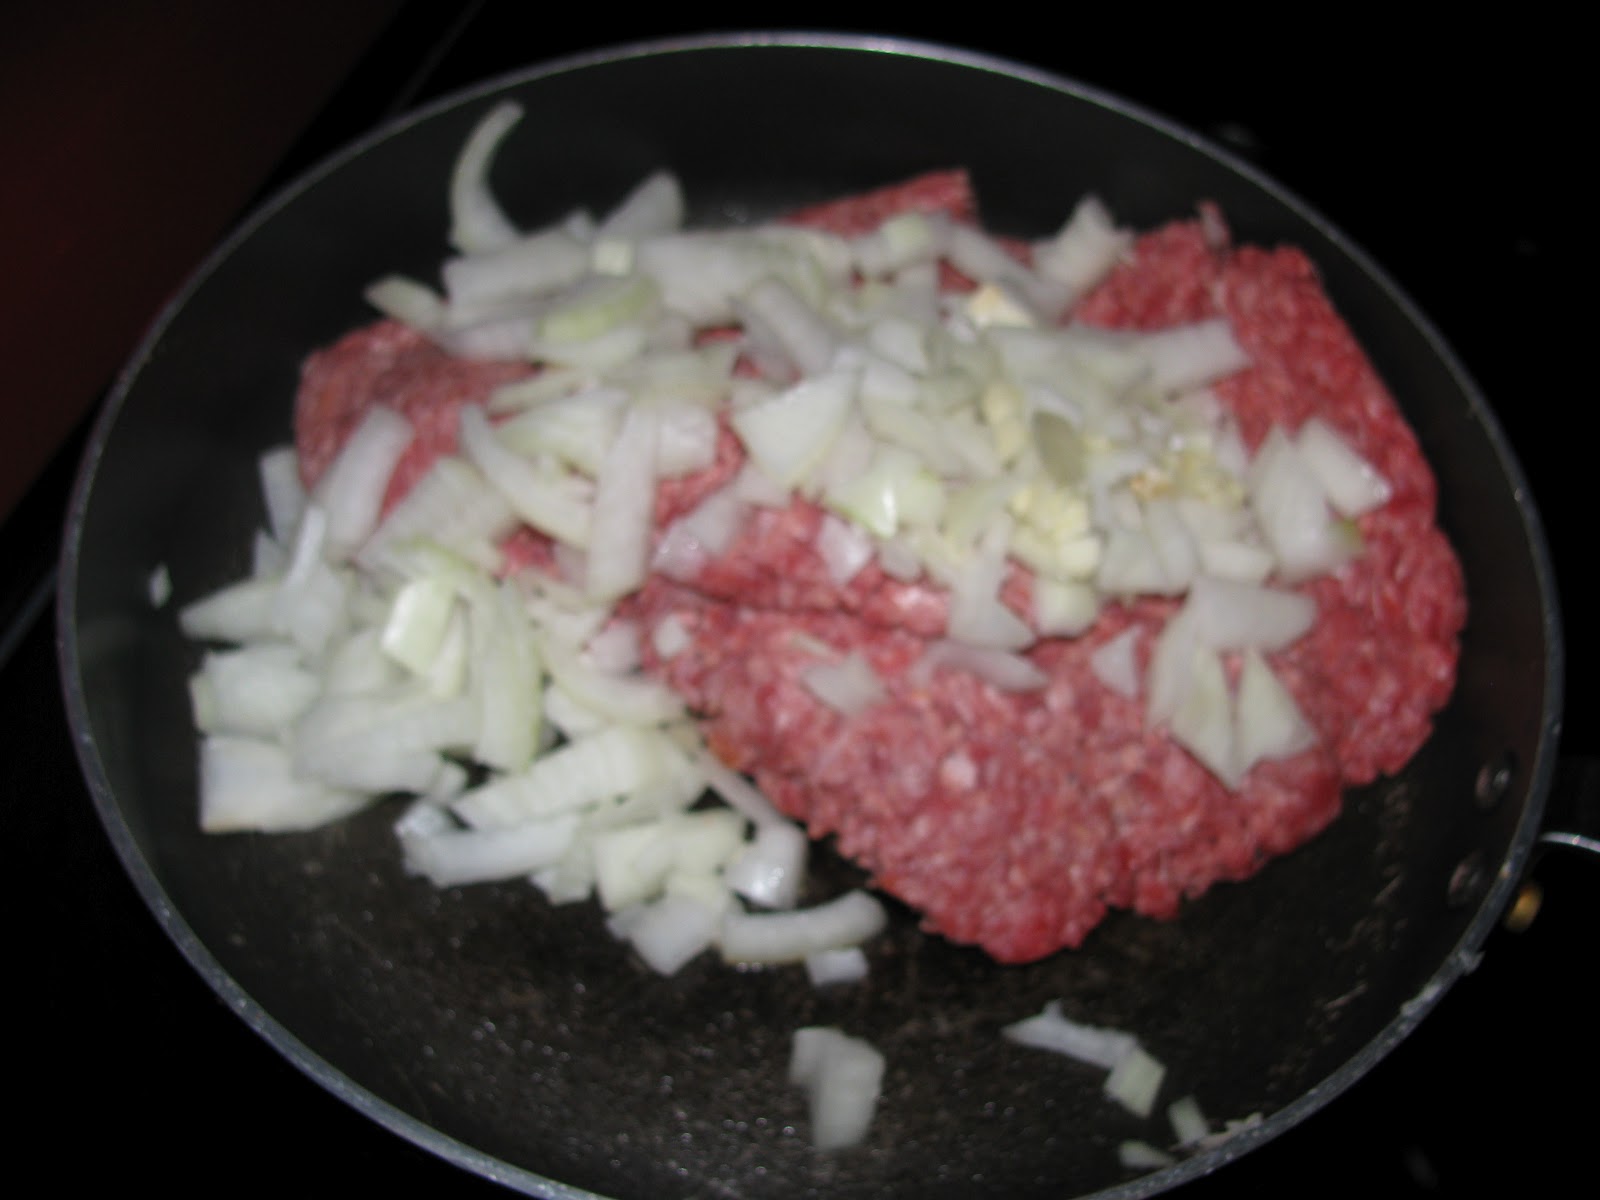
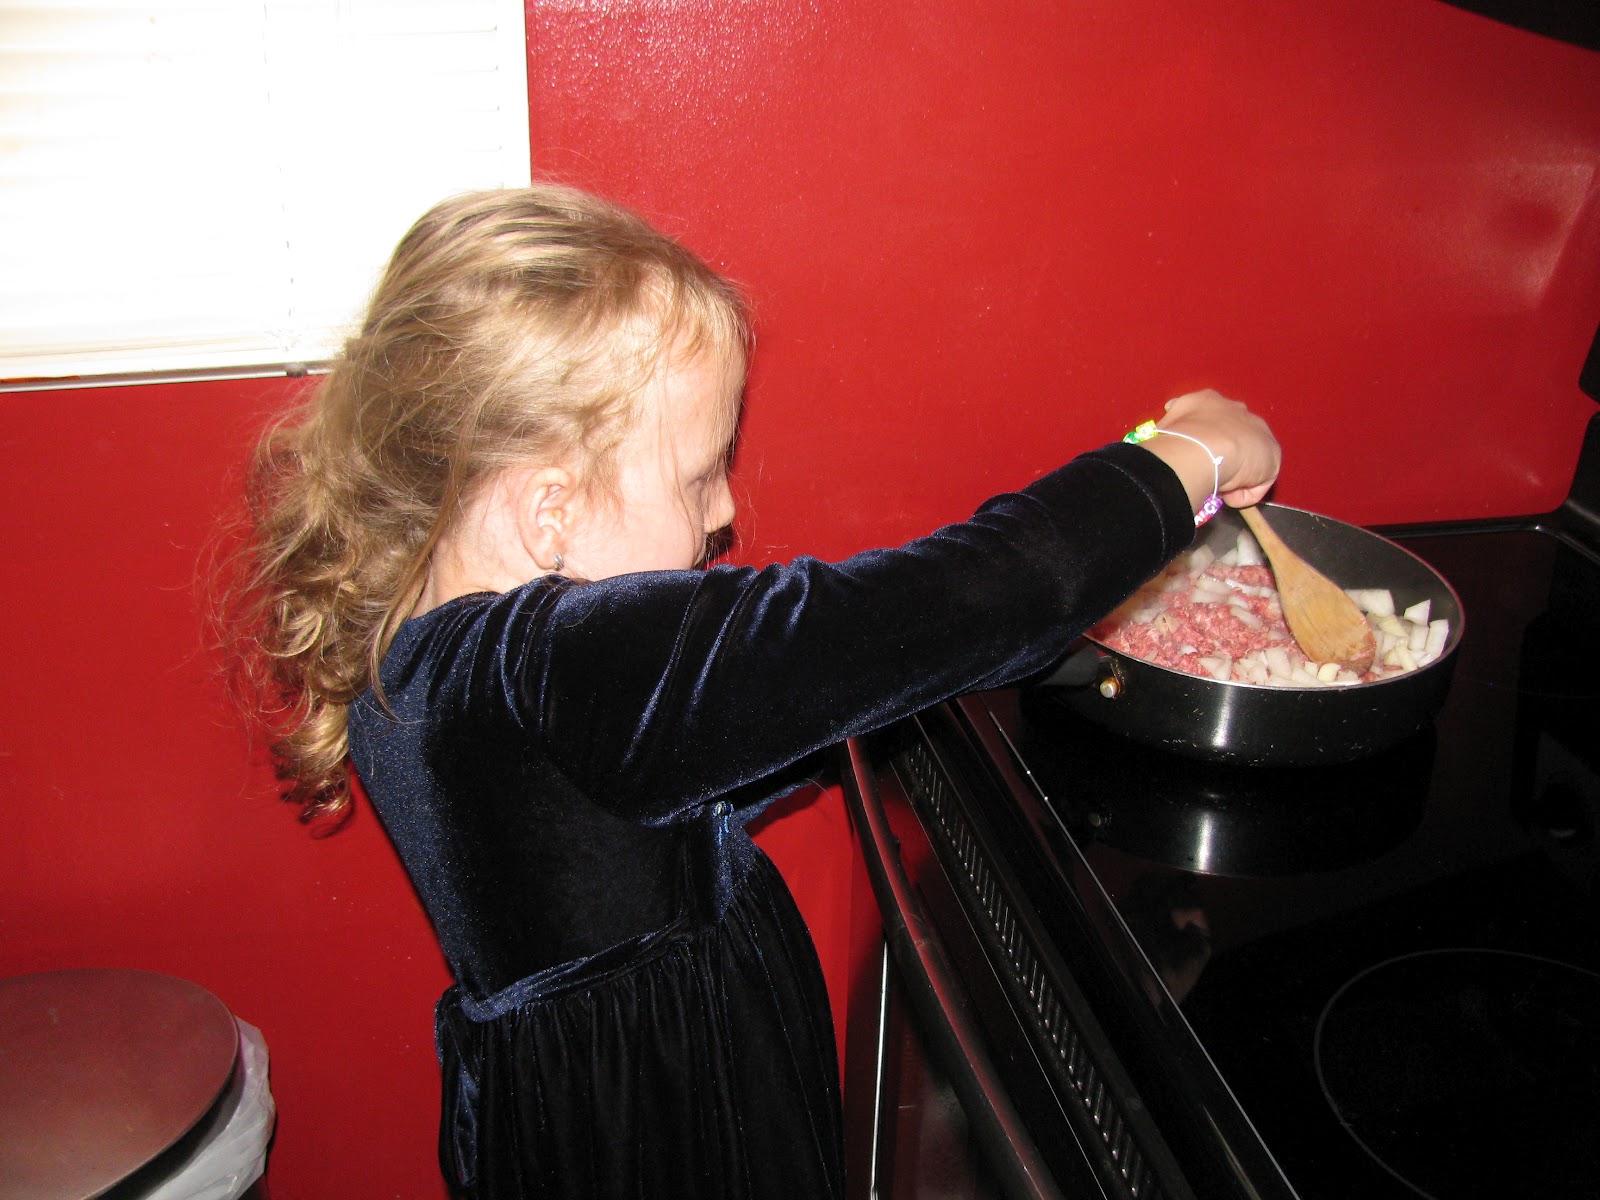
Start by mixing your sugar and oil.

Go ahead and add in the eggs, vanilla, and pumpkin.

Now here is the part where your house will start to smell heavenly.

Baked to moist, golden brown, deliciousness. The hard part is waiting for them to cool down.

You can certainly enjoy them as is, they make for a crazy good muffin. If you want to do it right, frost them with the worlds bestest cream cheese frosting. It will be the best decision you’ll make all day! I’ll leave a link for that below.

One of the best things about this recipe is that it makes enough to share! Go ahead and wrap them up cute and share the love.

by Rebecca Vahdat
Prep Time: 12 minutes
Cook Time: 17-22 minutes
- 4 large eggs
- 2 C. sugar
- 2 tsp. pure vanilla extract
- 1 C. vegetable oil
- 2 C. flour
- 2 tsp. baking soda
- 2-3 tsp. pumpkin pie spice or cinnamon
- 1/2 tsp salt
- 1-15oz. can 100% pumpkin
- 2 C. chocolate chips
Pre heat oven to 350 degrees and line muffin tins with cupcake liners.
Add a heaping Tablespoon of flour to the chocolate chips and mix well (this step keeps the chocolate chips from sinking to the bottom of the cupcakes). Sift together the additional flour, baking soda, pumpkin pie spice, and salt; set aside.
Combine sugar and oil and mix well. Add eggs one at a time, mixing well between each addition. Add vanilla and pumpkin and mix well.
Slowly add in dry ingredients until just combined.
Fold in chocolate chips.
Fill cupcake liners 3/4 full of batter and bake for *17-22 minutes or until toothpick inserted in the middle of a cupcake comes out clean.
Let cool and frost or skip the frosting and enjoy as a muffin.
*Oven temps vary, check muffins a few minutes before to avoid over baking.
*You can find the recipe for the Worlds Bestest Cream Cheese frosting here.*
I hope you enjoy these cupcakes as much as we do!
~Be Blessed and be a Blessing~
Rebecca
You can find me on Pinterest
Copyright © 2015 · All Rights Reserved · www.andasprinkleoflove.com
Tags: and a sprinkle of love, autumn, bake sale, baking, baking with kids, believers, Bible, birthday, blessed, blessing, blog, blogger, budget friendly meals, burdened, cheap meals, children, christ, Christian, Christian blog, christian blogger, Christian mother, Christian wife, Christian woman, christianity, Christmas, Christmas baking, Christmas desserts, Christmas recipes, church bake sale, comfort, cooking, cooking with kids, daughter, dinner, easy, easy dinner, easy recipes, economical meals, Encouragement, Eternal Vaue, faith, Fall, fall baking, fall desserts, fall recipes, family, family friendly, family friendly meal, food, food gifts, forgiveness, Freedom, fun, giving thanks, God, grace, gratitude, harvest, heart, Heaven, Heavenly Father, Holiday, holiday baking, holiday desserts, holiday recipes, Holy Spirit, home education, homemaker, homemaking, homeschool, hope, housewife, husband, husband and wife, Jesus, jesus christ, Joy, kitchen, learning, life, Lord, love, mama, marriage, meal ministry, meal plan, meal planning, media, menu planning, mom, mother, motherhood, parenting, peace, Pinterest, praise, prayer, precious, pumpkin, pumpkin chocolate chip cupcakes, pumpkin chocolate chip cupcakes with cream cheese frosting, pumpkin chocolate muffins, pumpkin recipes, recipe, recipes, respect, Savior, scripture, Servant, servants heart, serving, simple recipes, sin, summer, teaching, Thanks, thanksgiving, Thanksgiving baking, Thanksgiving desserts, Thanksgiving recipes, transformation, trust, Truth, weary, wife, wisdom, Woman, women