The temperature here has dipped below zero. Being a hearty Minnesotan I should be well seasoned to the brutal winter cold. “Should” being the key word, LOL! Besides wanting to scoop up my babies and curl under a nice warm blanket, nothing seems to warm you up better than a nice hearty, steamin’ bowl (or two) of beef stew. This is a recipe that I have adapted over the years to change with my growing family and their ever changing taste buds. This is a meal everyone in my family gets excited about. No grumbling and empty plates at the table, a mama’s dream:) Also, easy on the budget! With a few fillers like rice and bread you can easily stretch this meal to feed more without spending more. I can definitely appreciate that!
 |
To get started, grab a gallon size Ziploc bag, 1 Cup all purpose flour,
1 tsp salt, 1 1/2 tsp garlic powder, 1 tsp black pepper. Place flour
and all the spices in the Ziploc bag and give it a good shake to mix
flour and spices well. Set aside, you’ll need this in a few minutes. |
 |
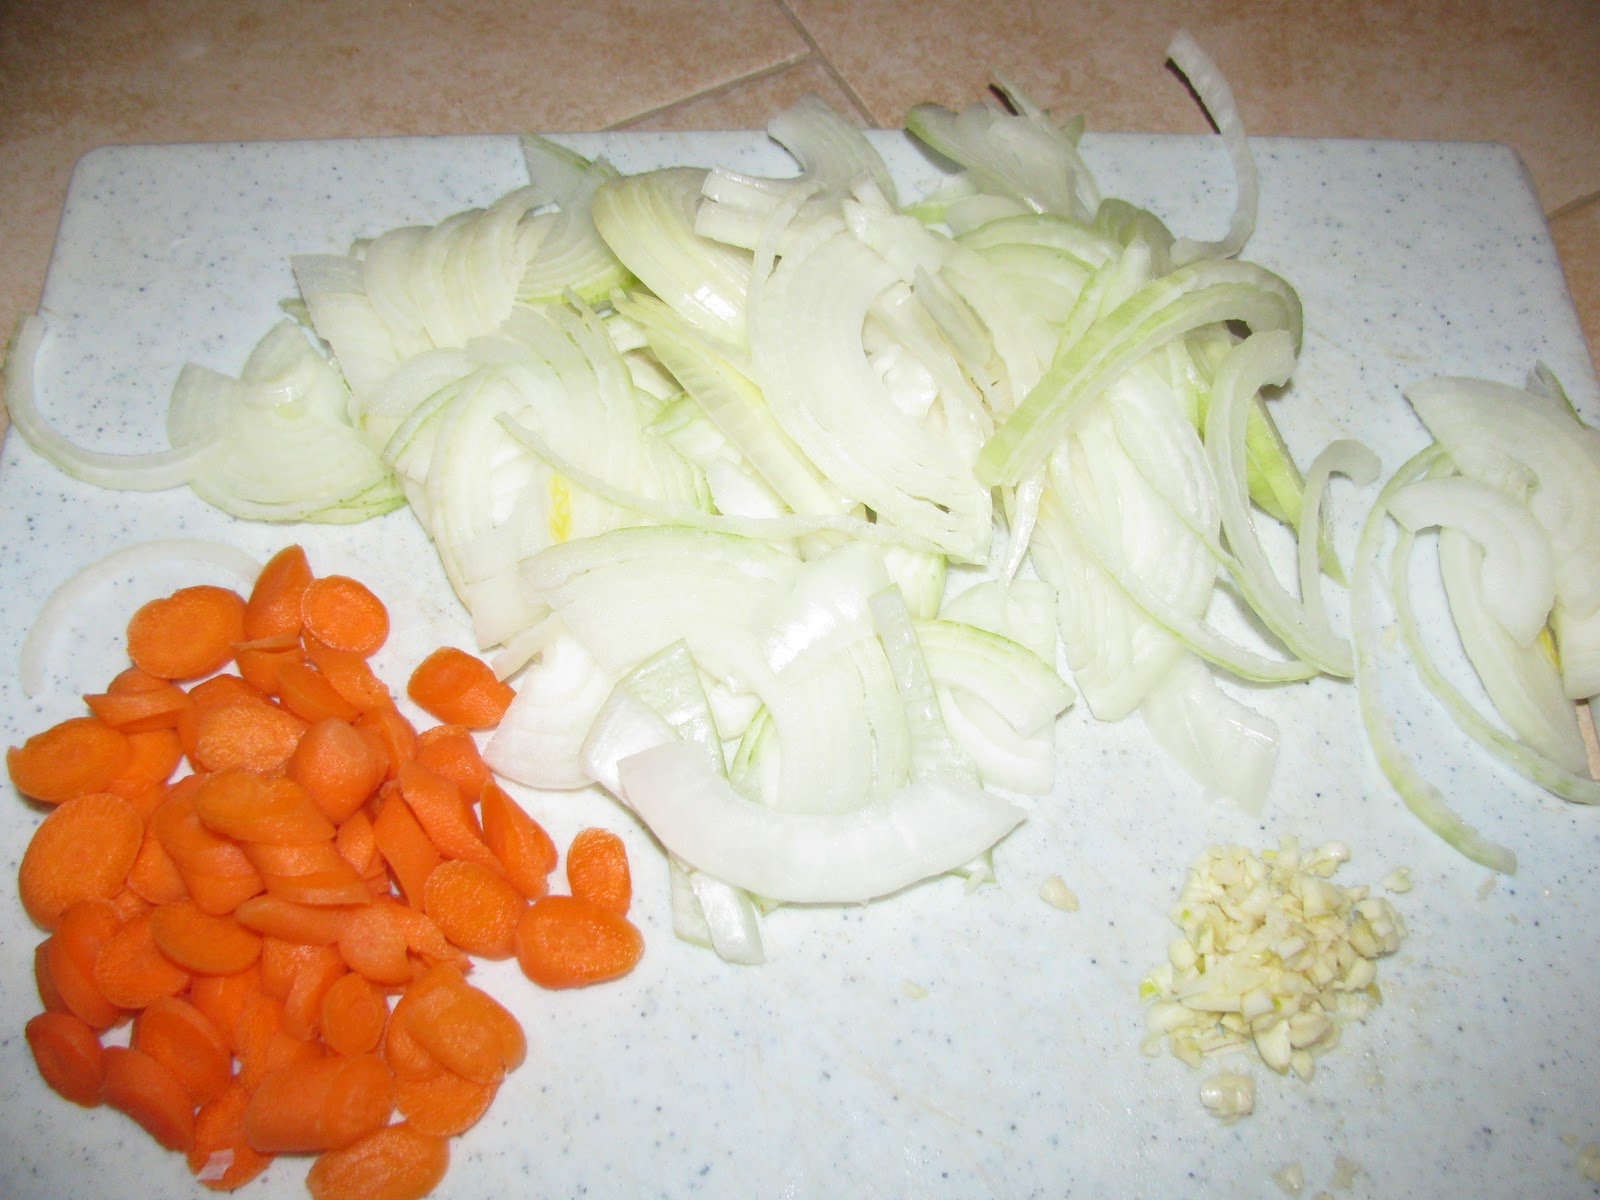
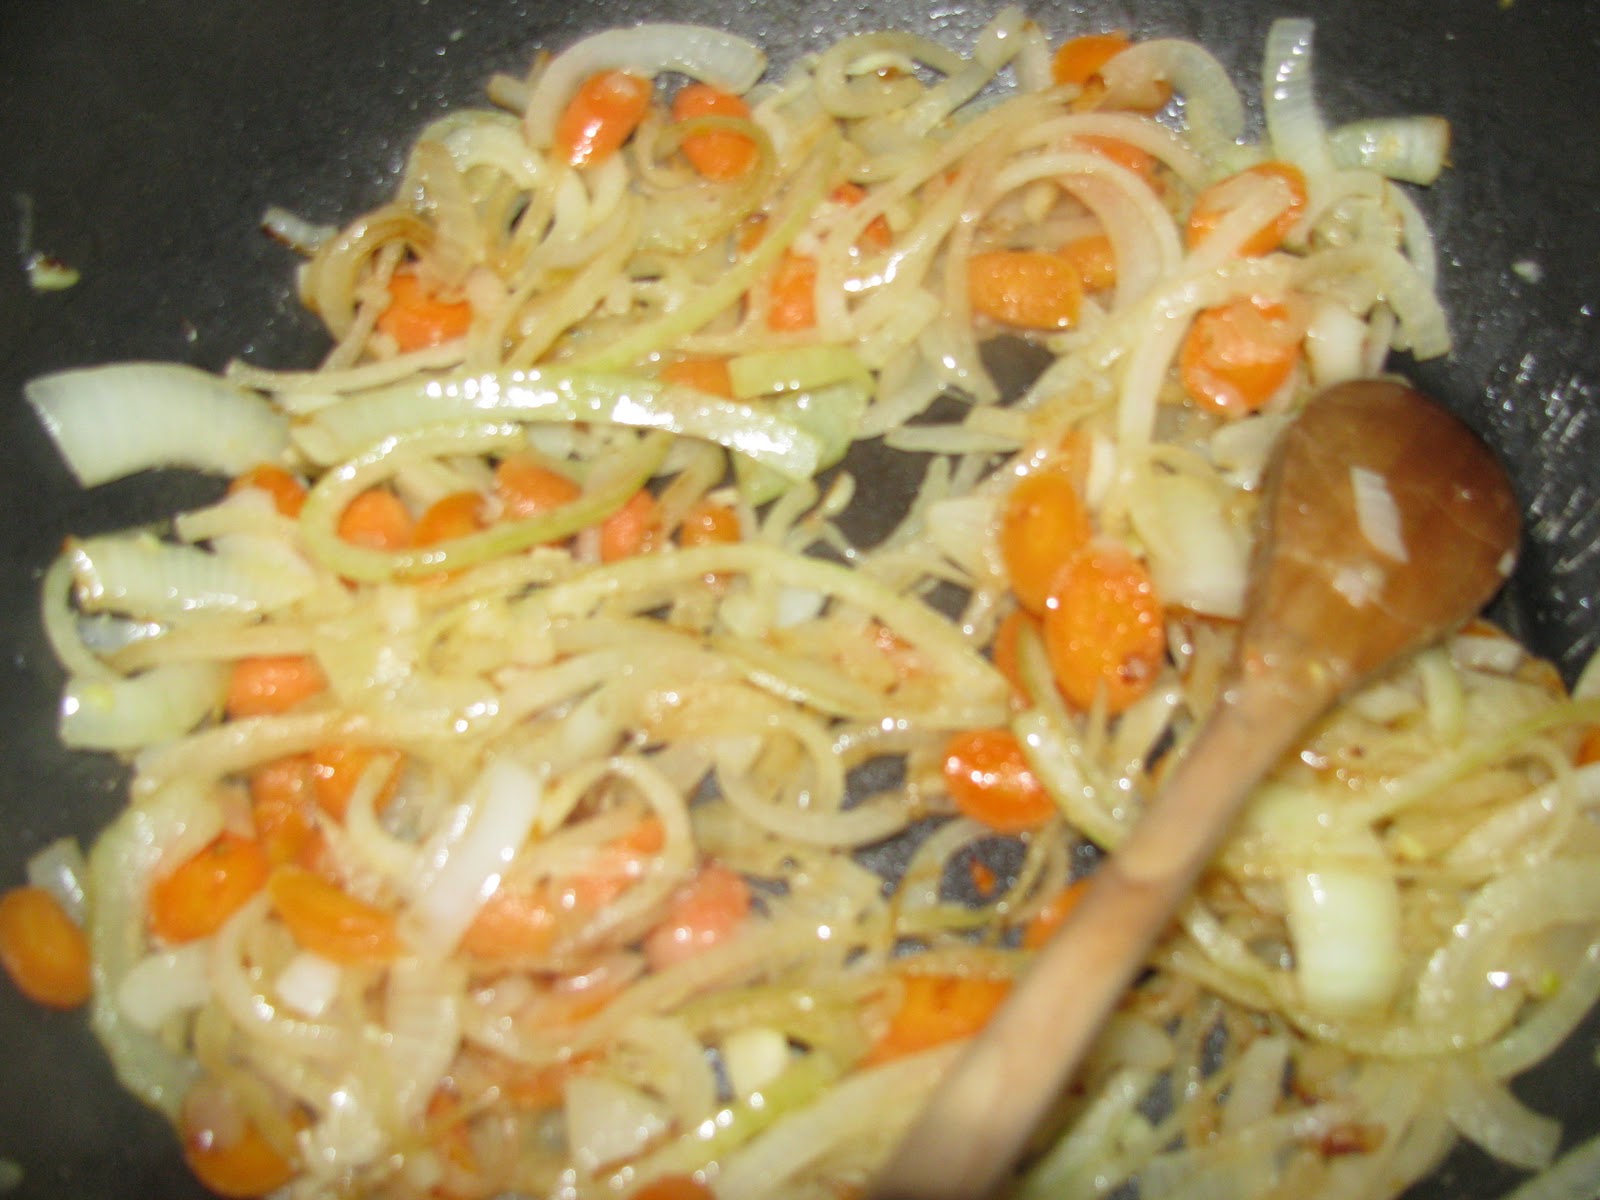
| Thinly slice 2 large onions, 4 cloves of garlic and 2 carrots. |
 |
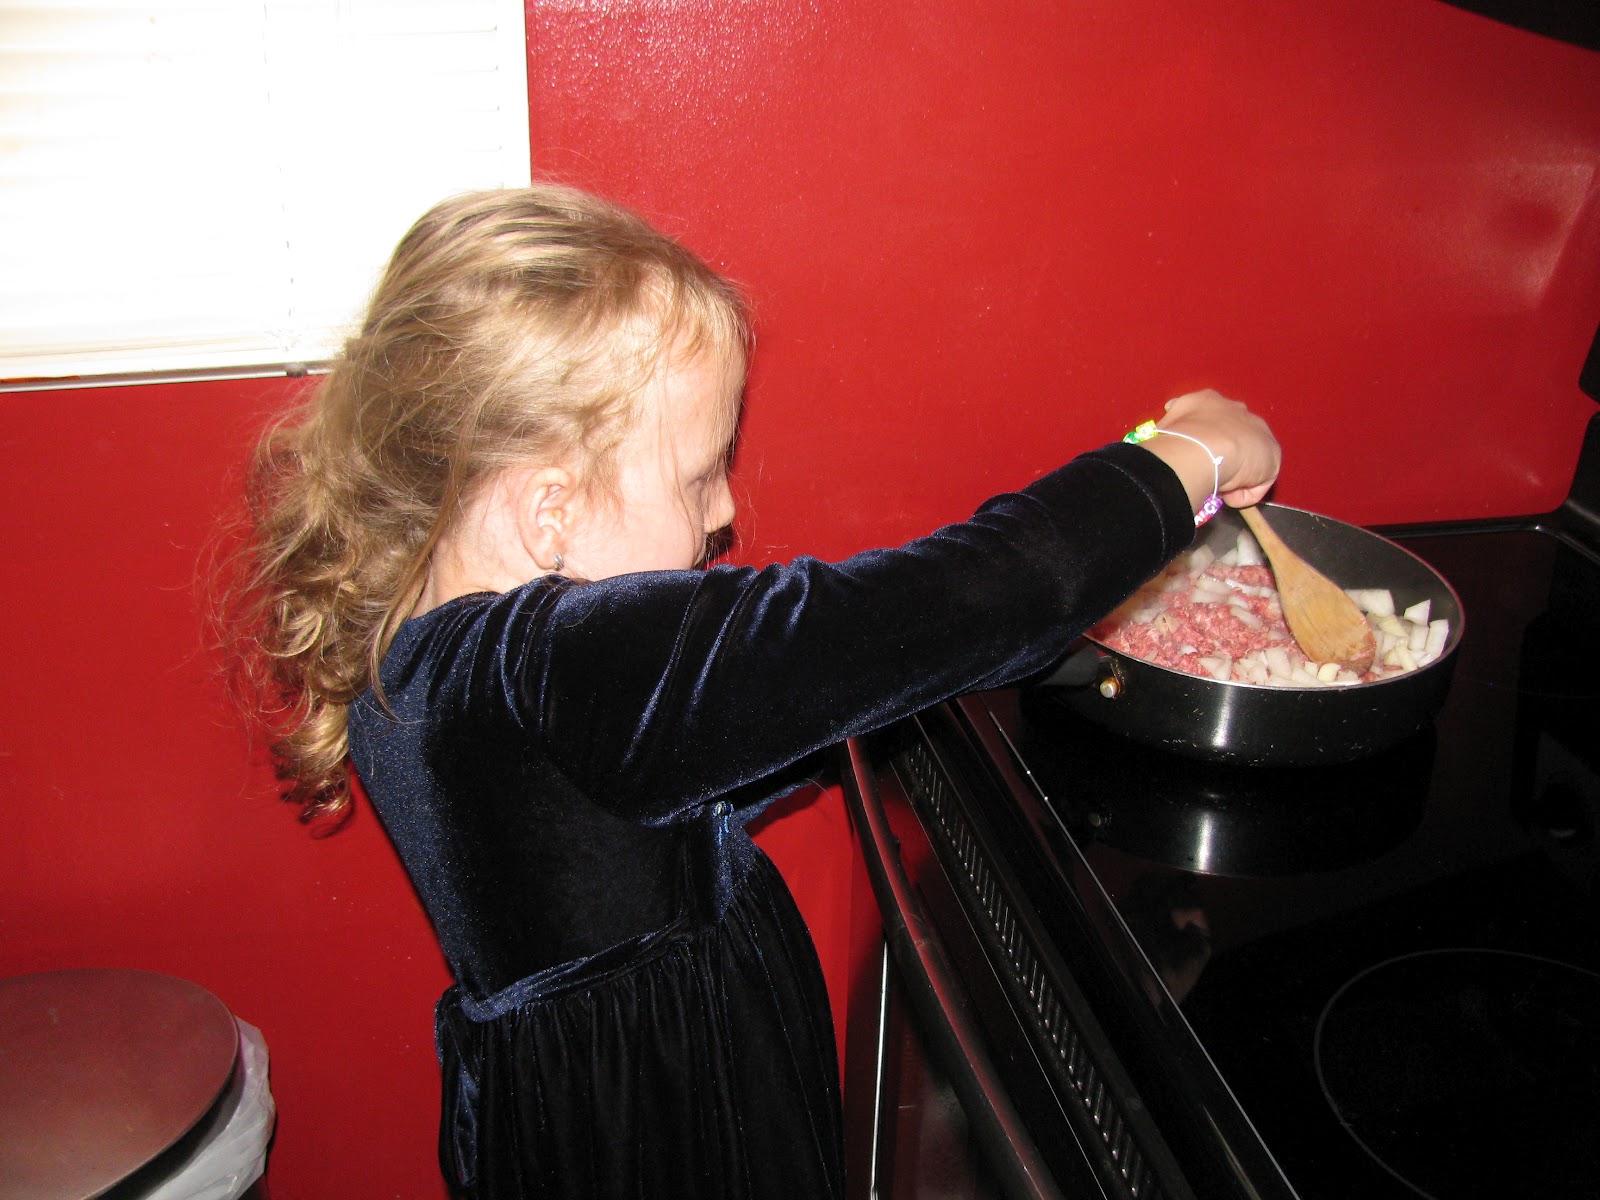
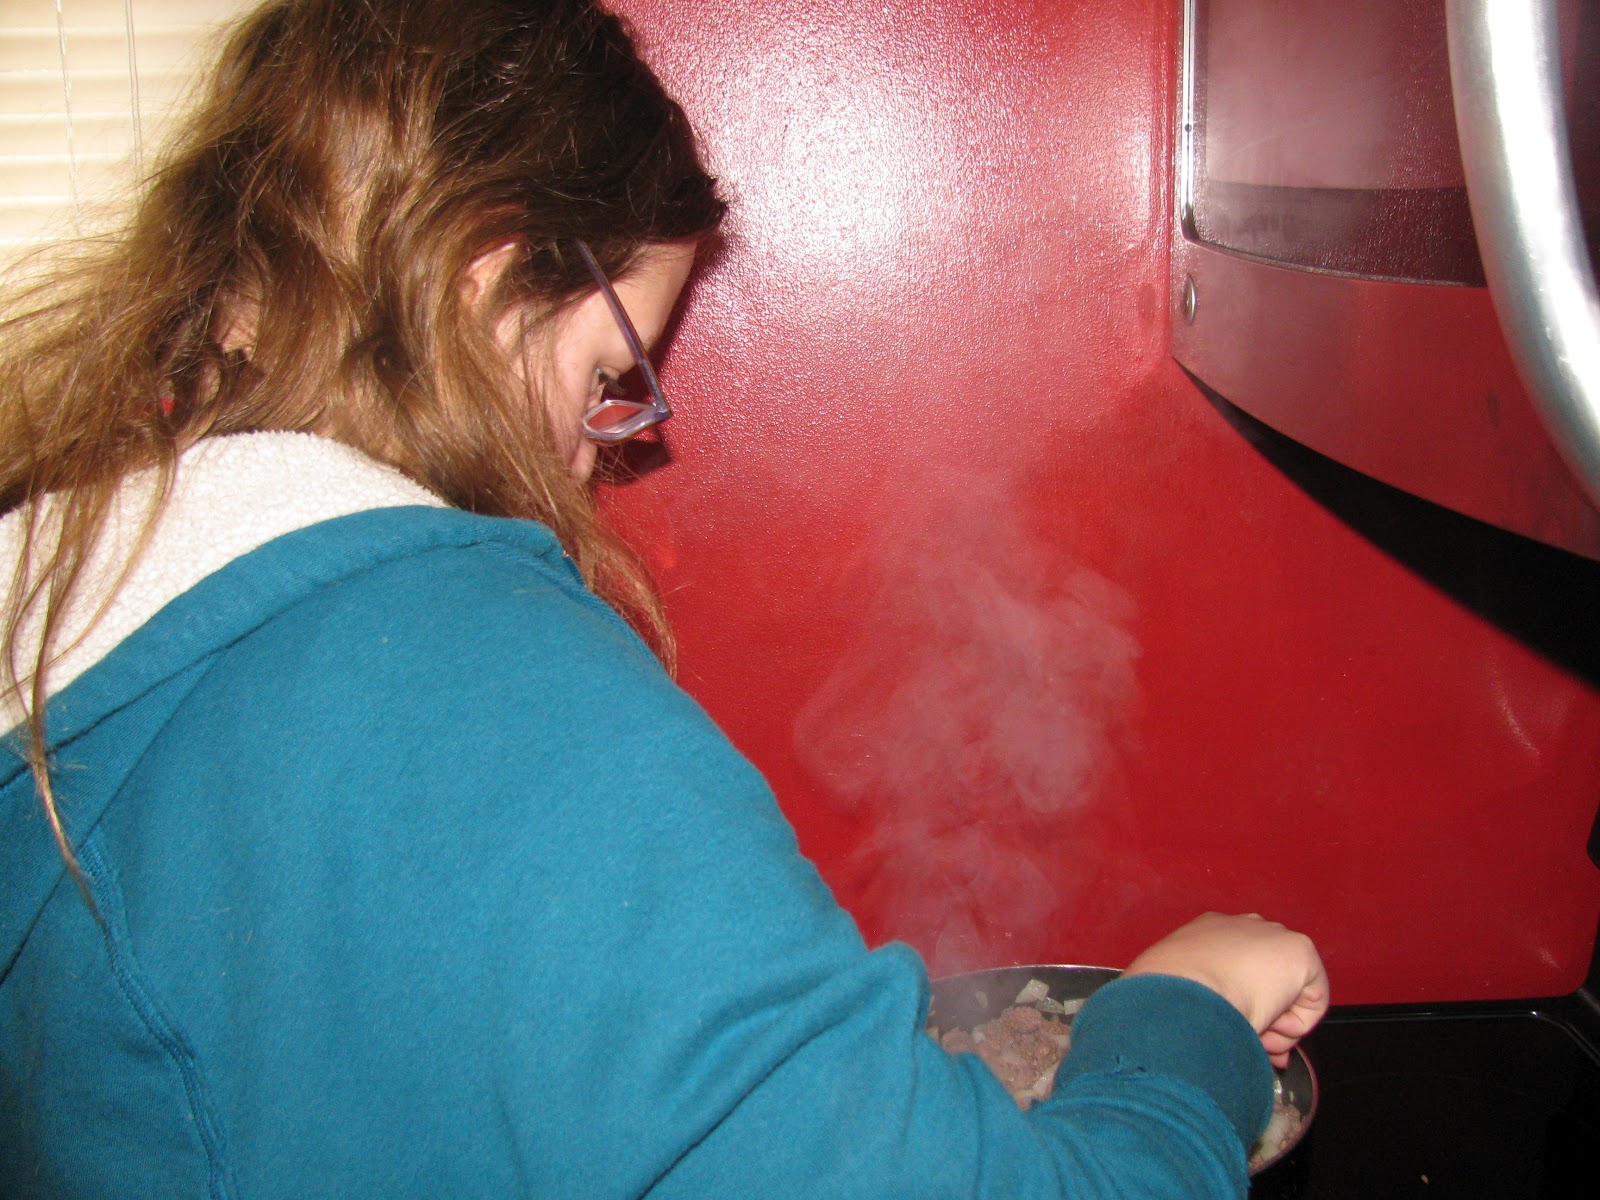
In a large pan or pot heat 2 Tablespoons of olive oil over
medium-high heat. When pan is hot add your chopped
veggies. Cook 5-8 minutes or until veggies are tender
stirring occasionally. |
 |
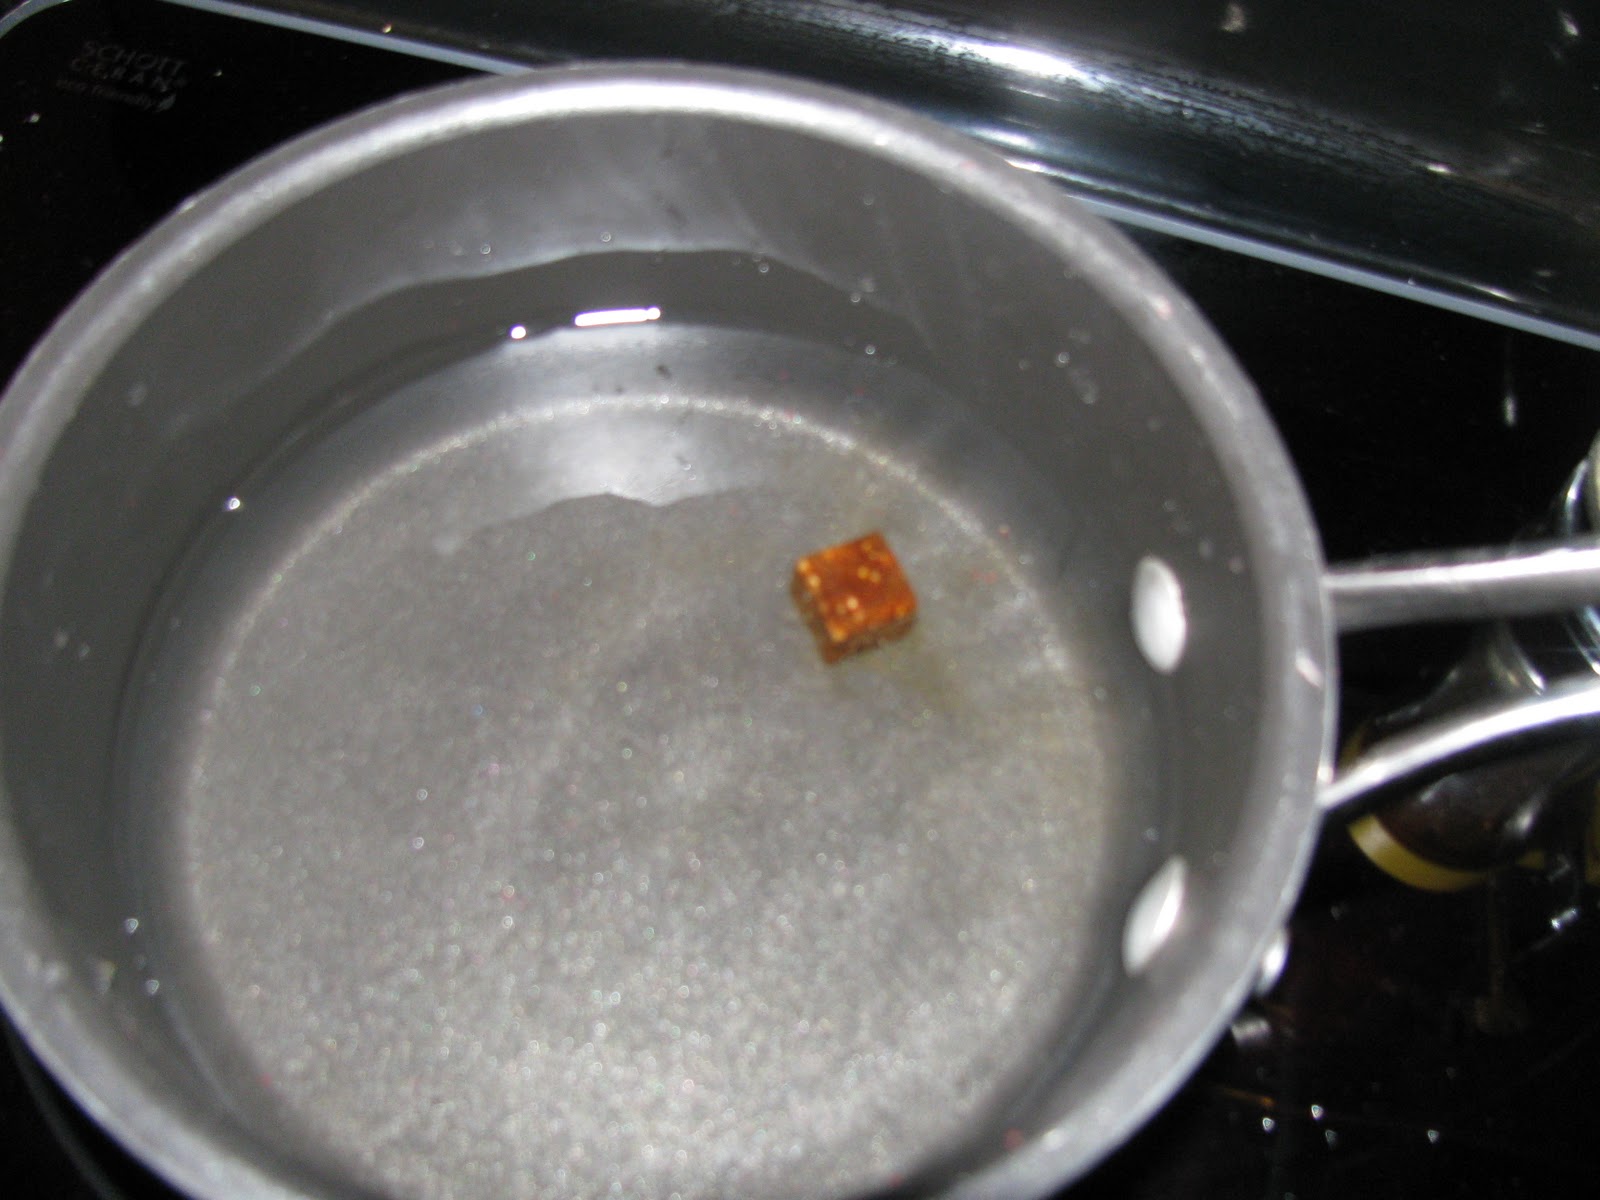
While veggies are cooking heat 1 1/2 Cups of water and one
beef bullion cube to a boil. Turn heat off as soon as the water
starts to boil and give it a stir. The bouillon cube should
melt into the boiling water. You will need this to make a
little broth for your beef stew. You can absolutely save a step
and used canned beef or vegetable broth. |
 |
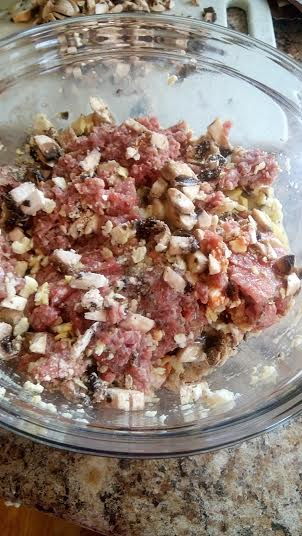
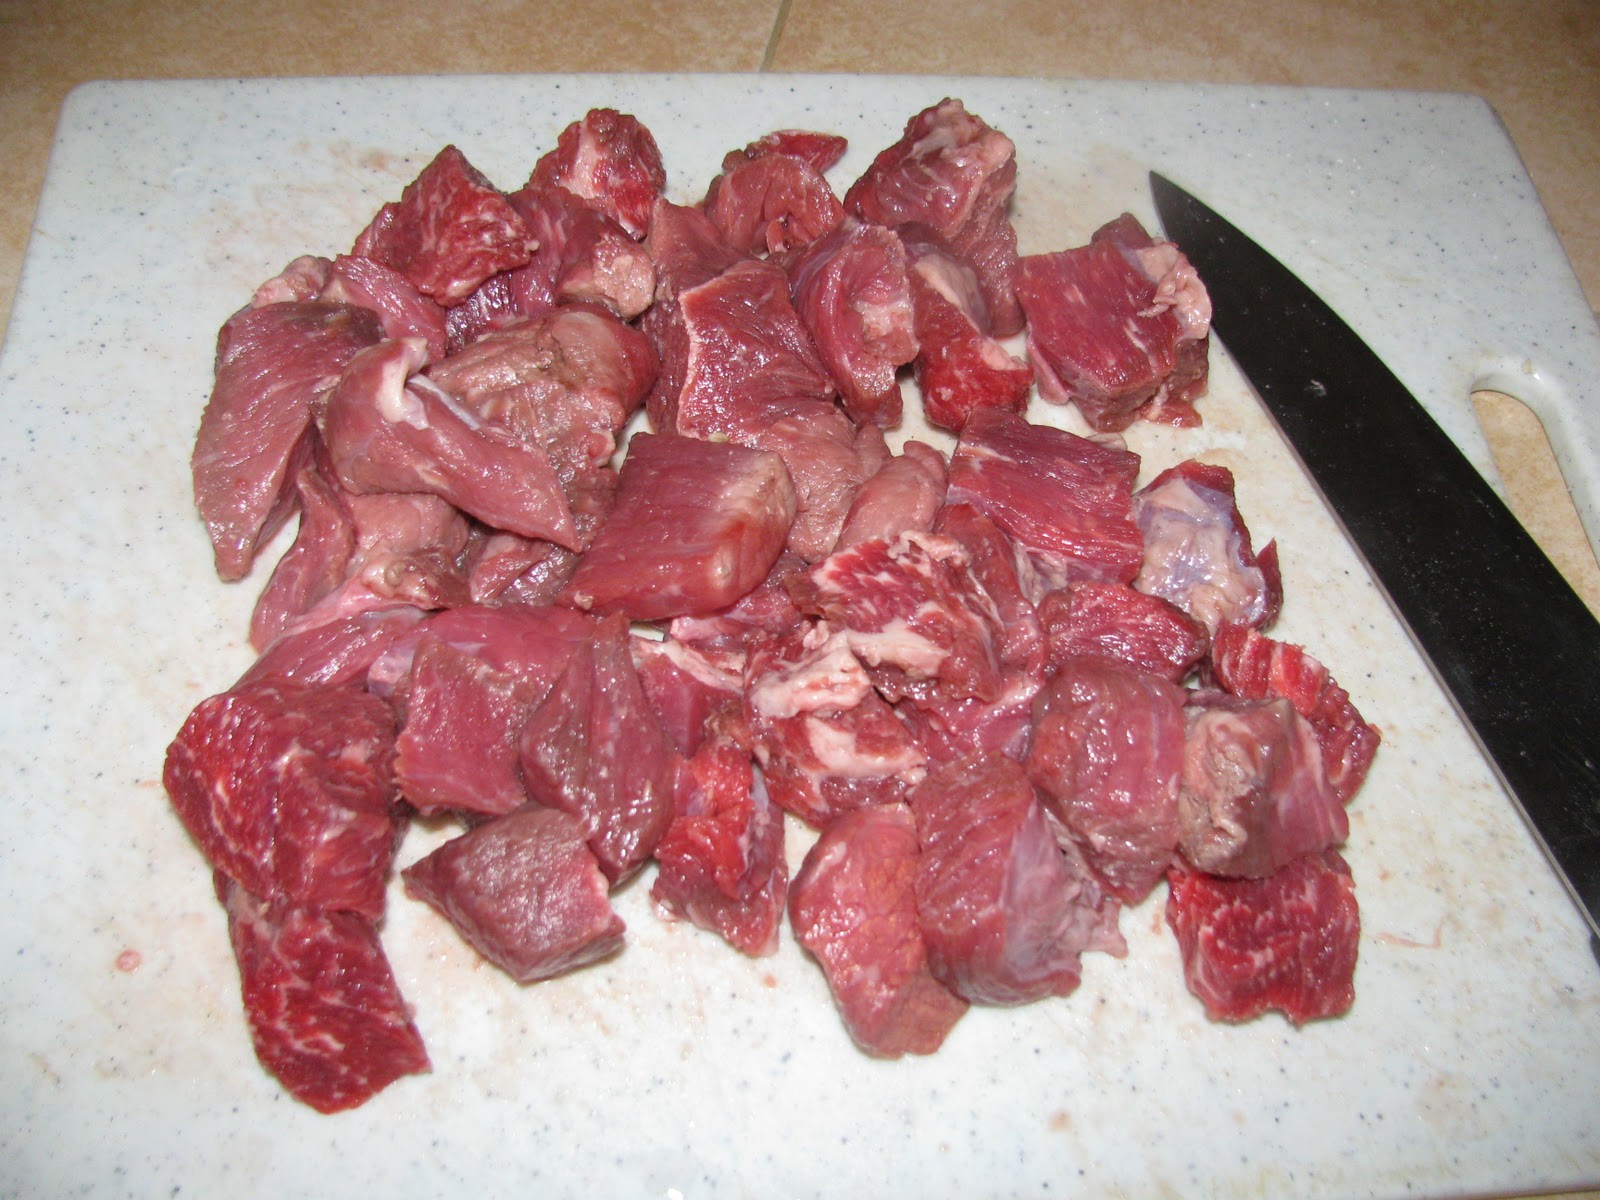
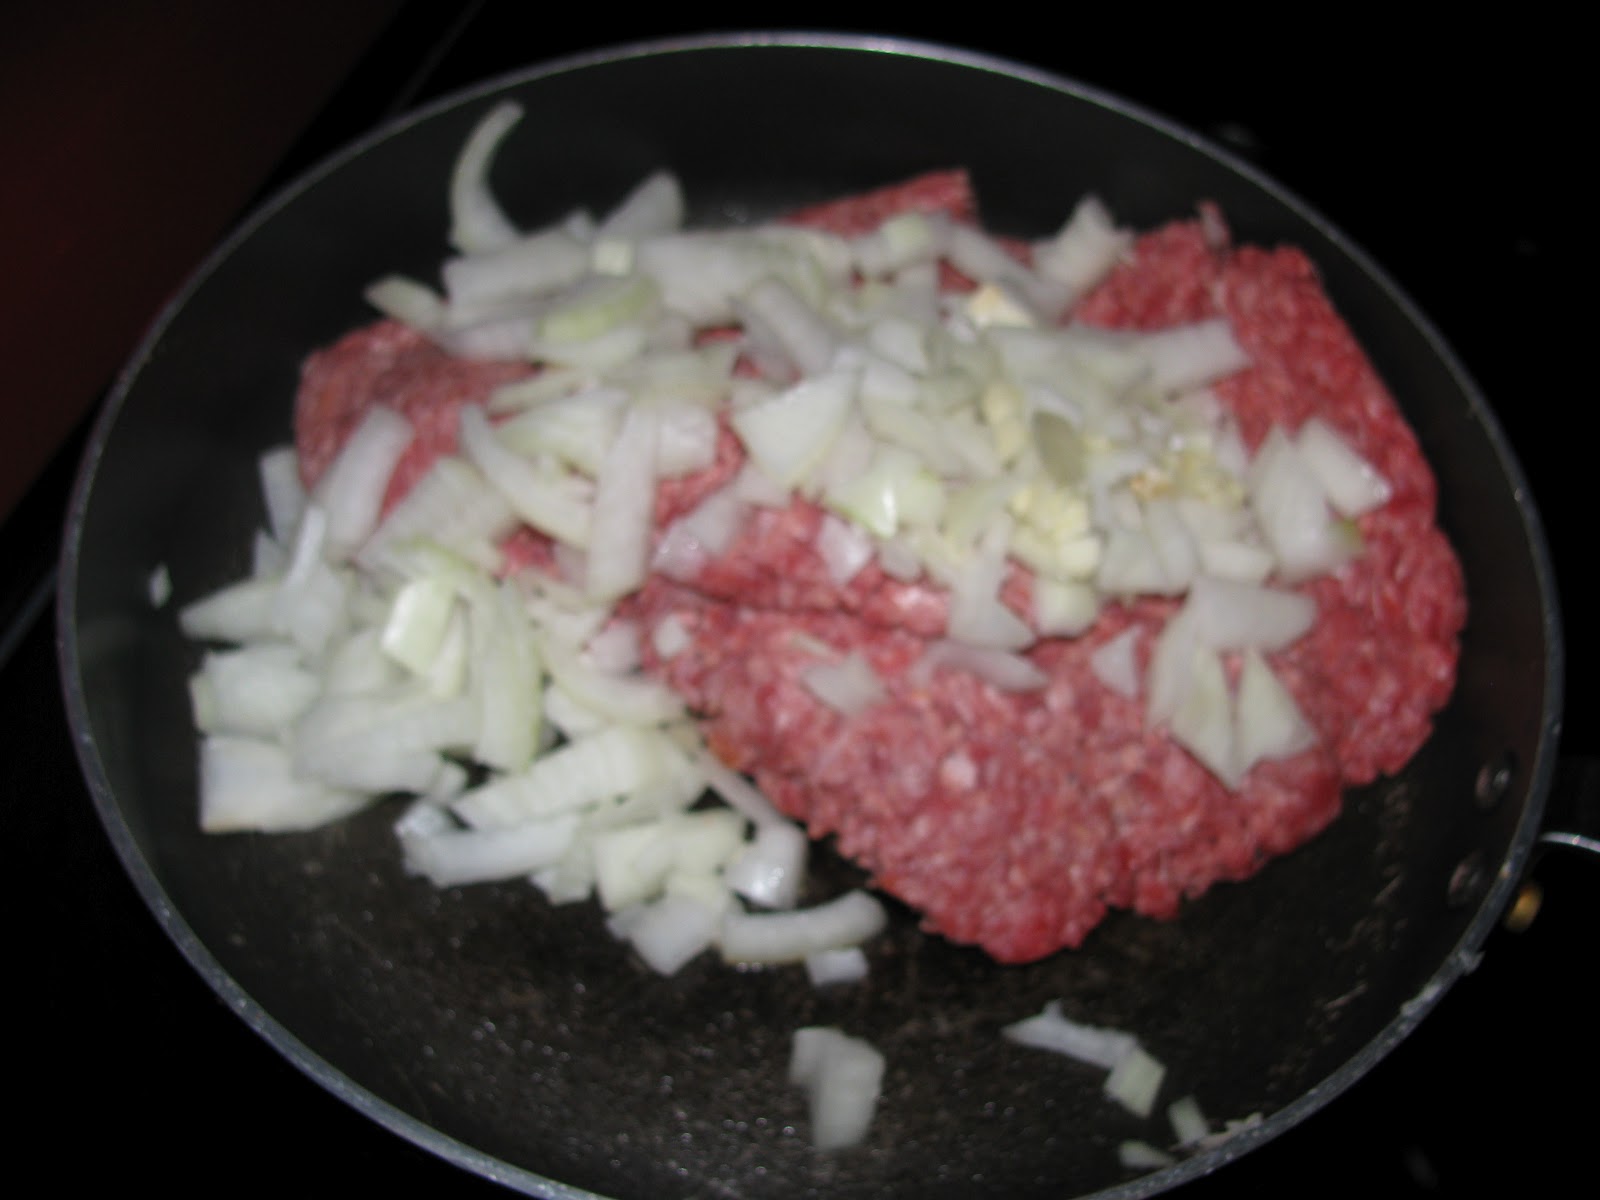
I am using 1 1/2 pounds stew meat. I usually end up cutting
each piece of stew meat into bite size pieces and cutting off
excess fat (but not all, some fat is good and with the length
we will be cooking the stew the extra fat will just melt into
stew giving it added flavor). Once your stew is cut to desired
pieces, go ahead and put half of it in your Ziploc bag and
give it a good shake to coat each piece . |
 |
Veggies are done when they are soft and the onions are translucent.
Remove from pan and set aside. Once veggies are removed
add 2-3 more Tablespoons of olive oil in pan and bring back
up to medium-high heat. |
 |
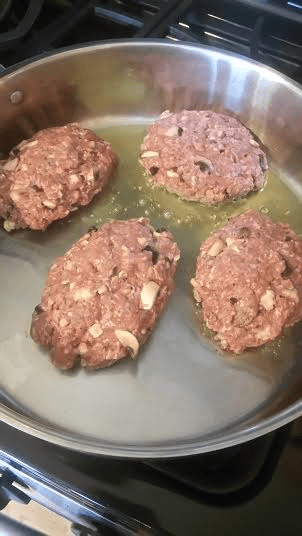
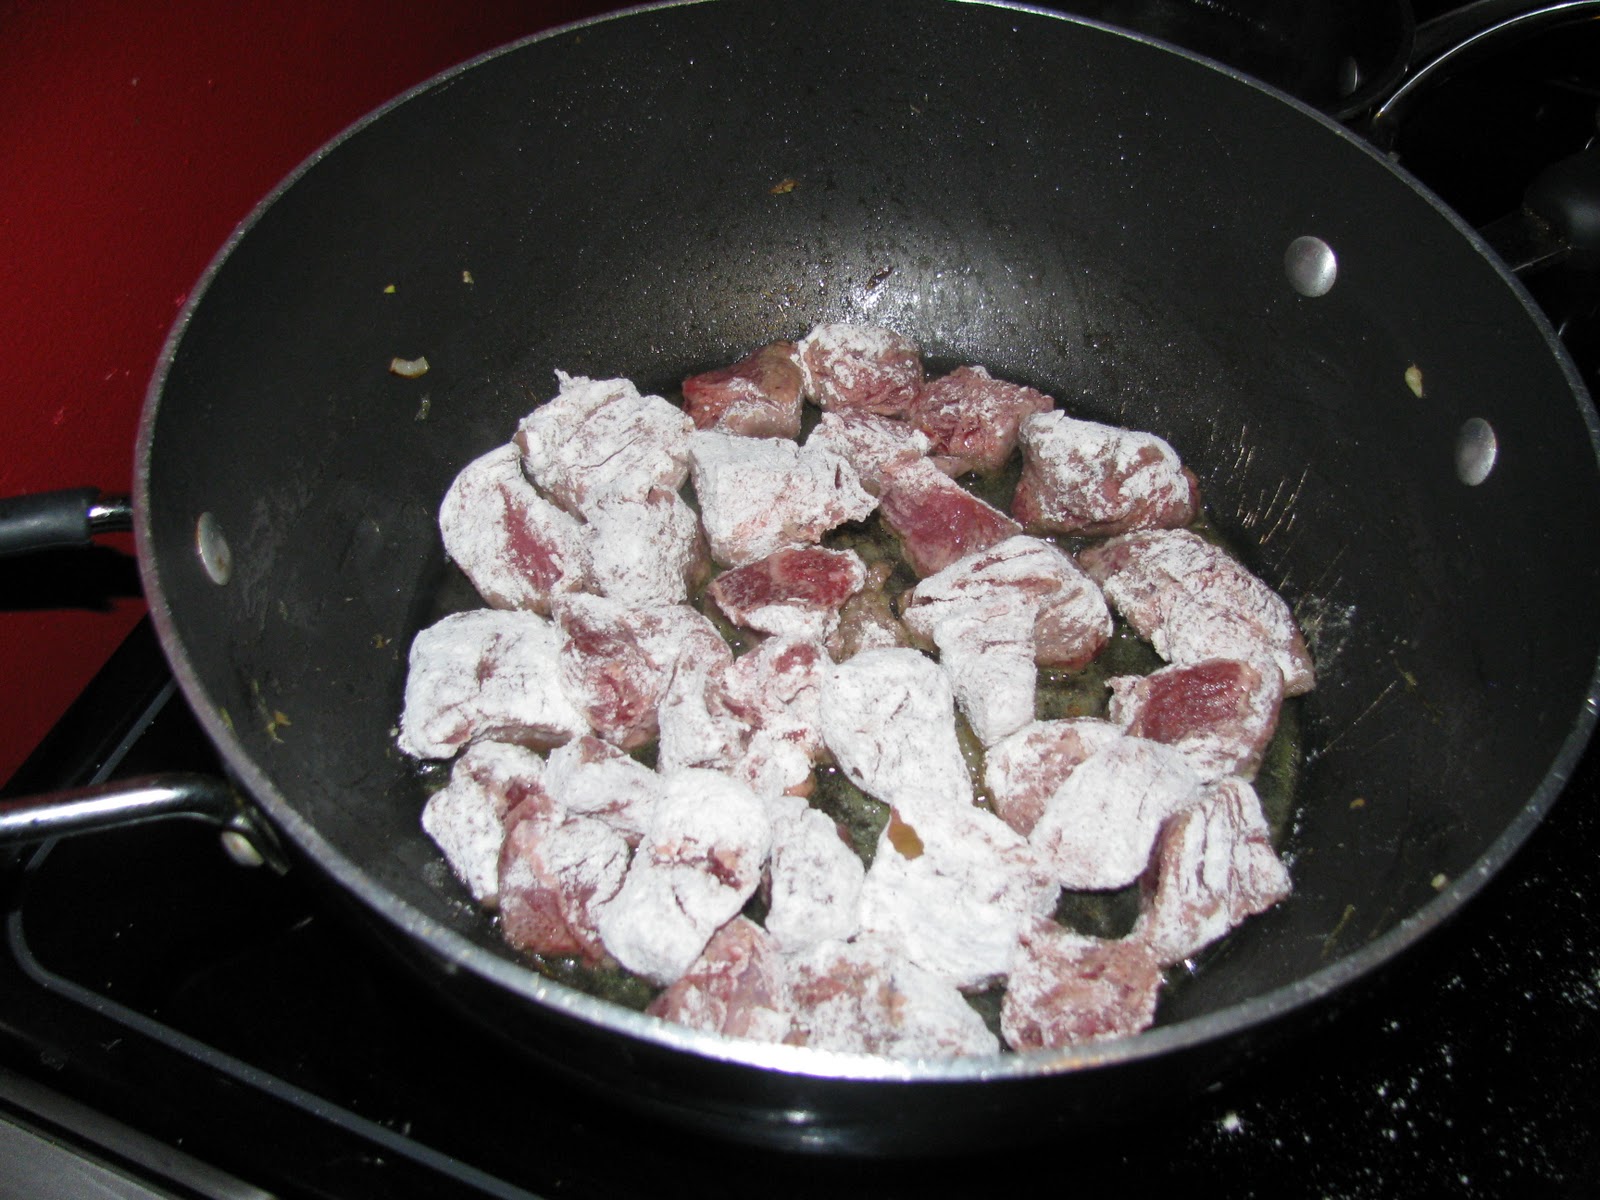
When pan is hot again start adding your stew meat. You might
have to do this in 2 shifts. Brown stew meat well on both
sides. Coating the meat in the flour mixture helps not only
to brown the meat and add flavor but it will also be the thickener
to the stew. |
 |
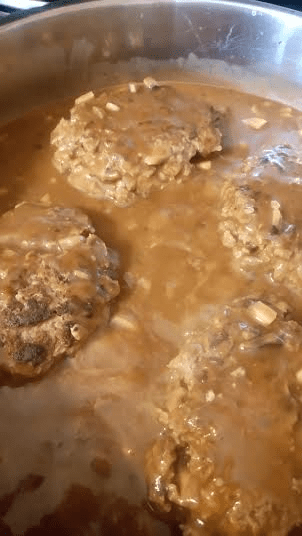
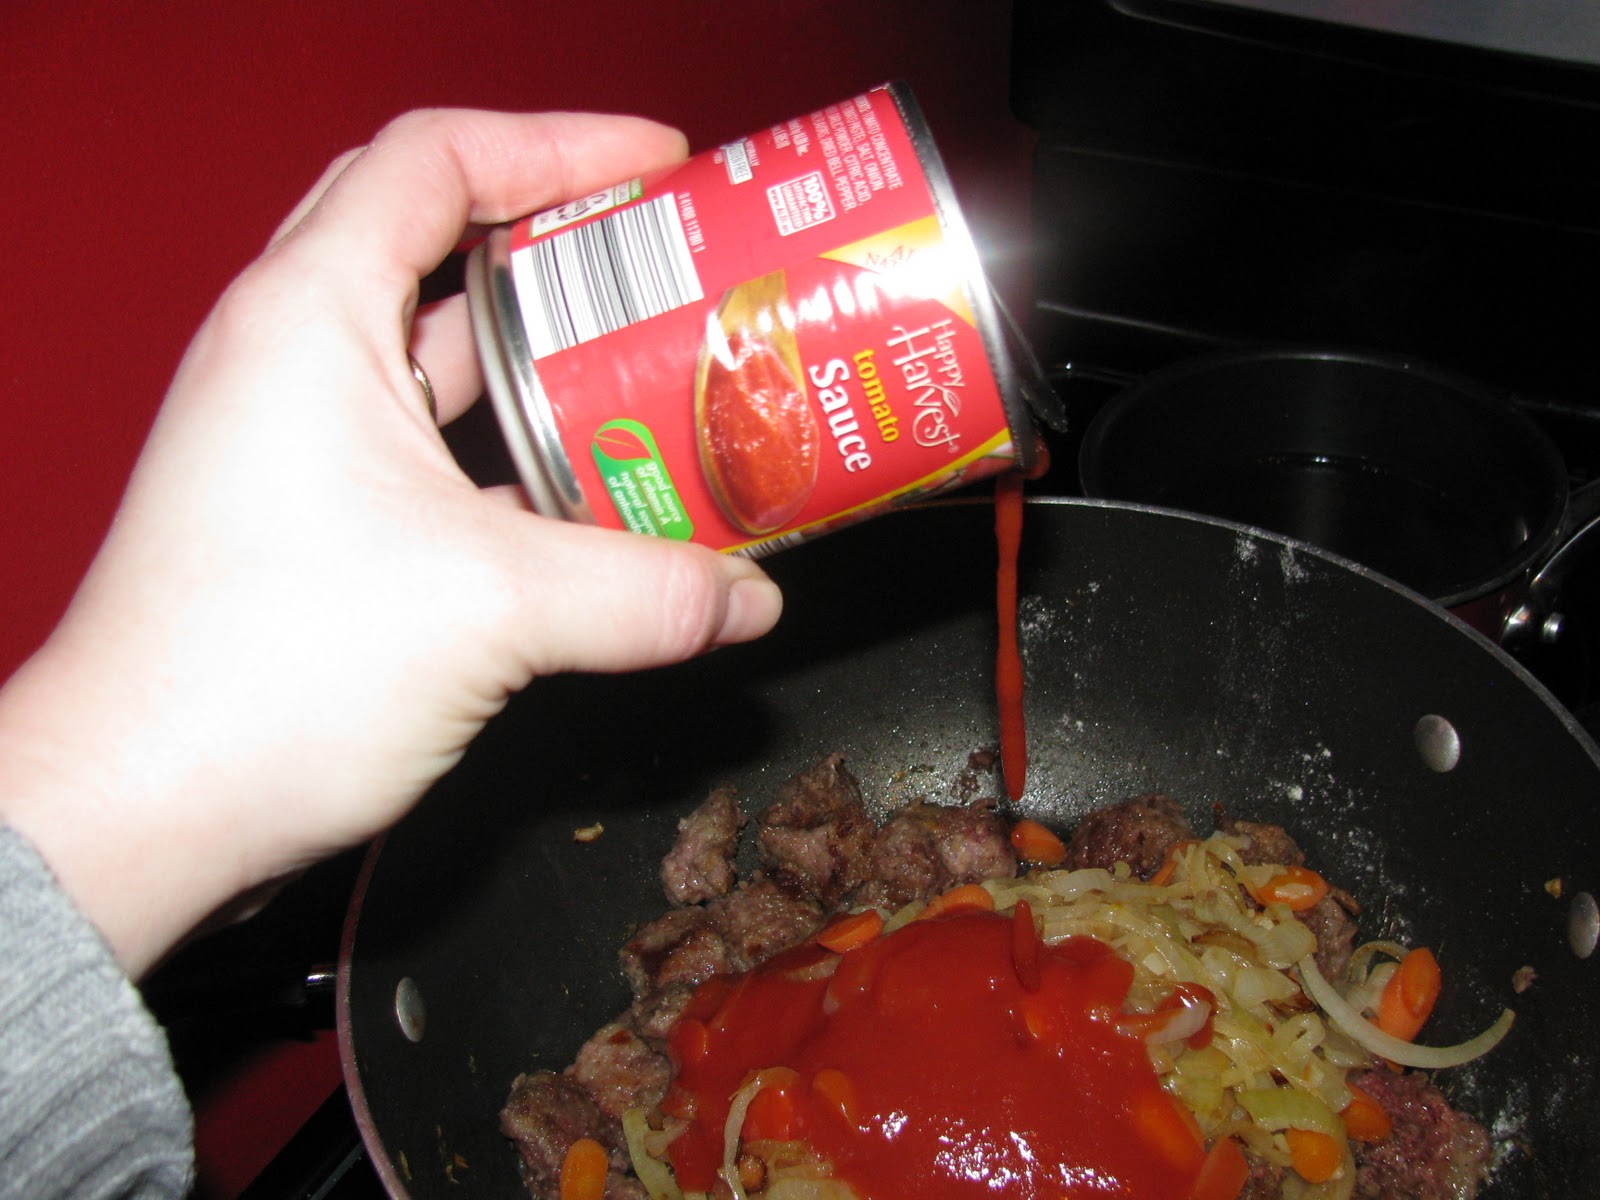
When all the stew meat is browned add to the veggies back in,
one small 8 ounce can of tomato sauce and the beef broth.
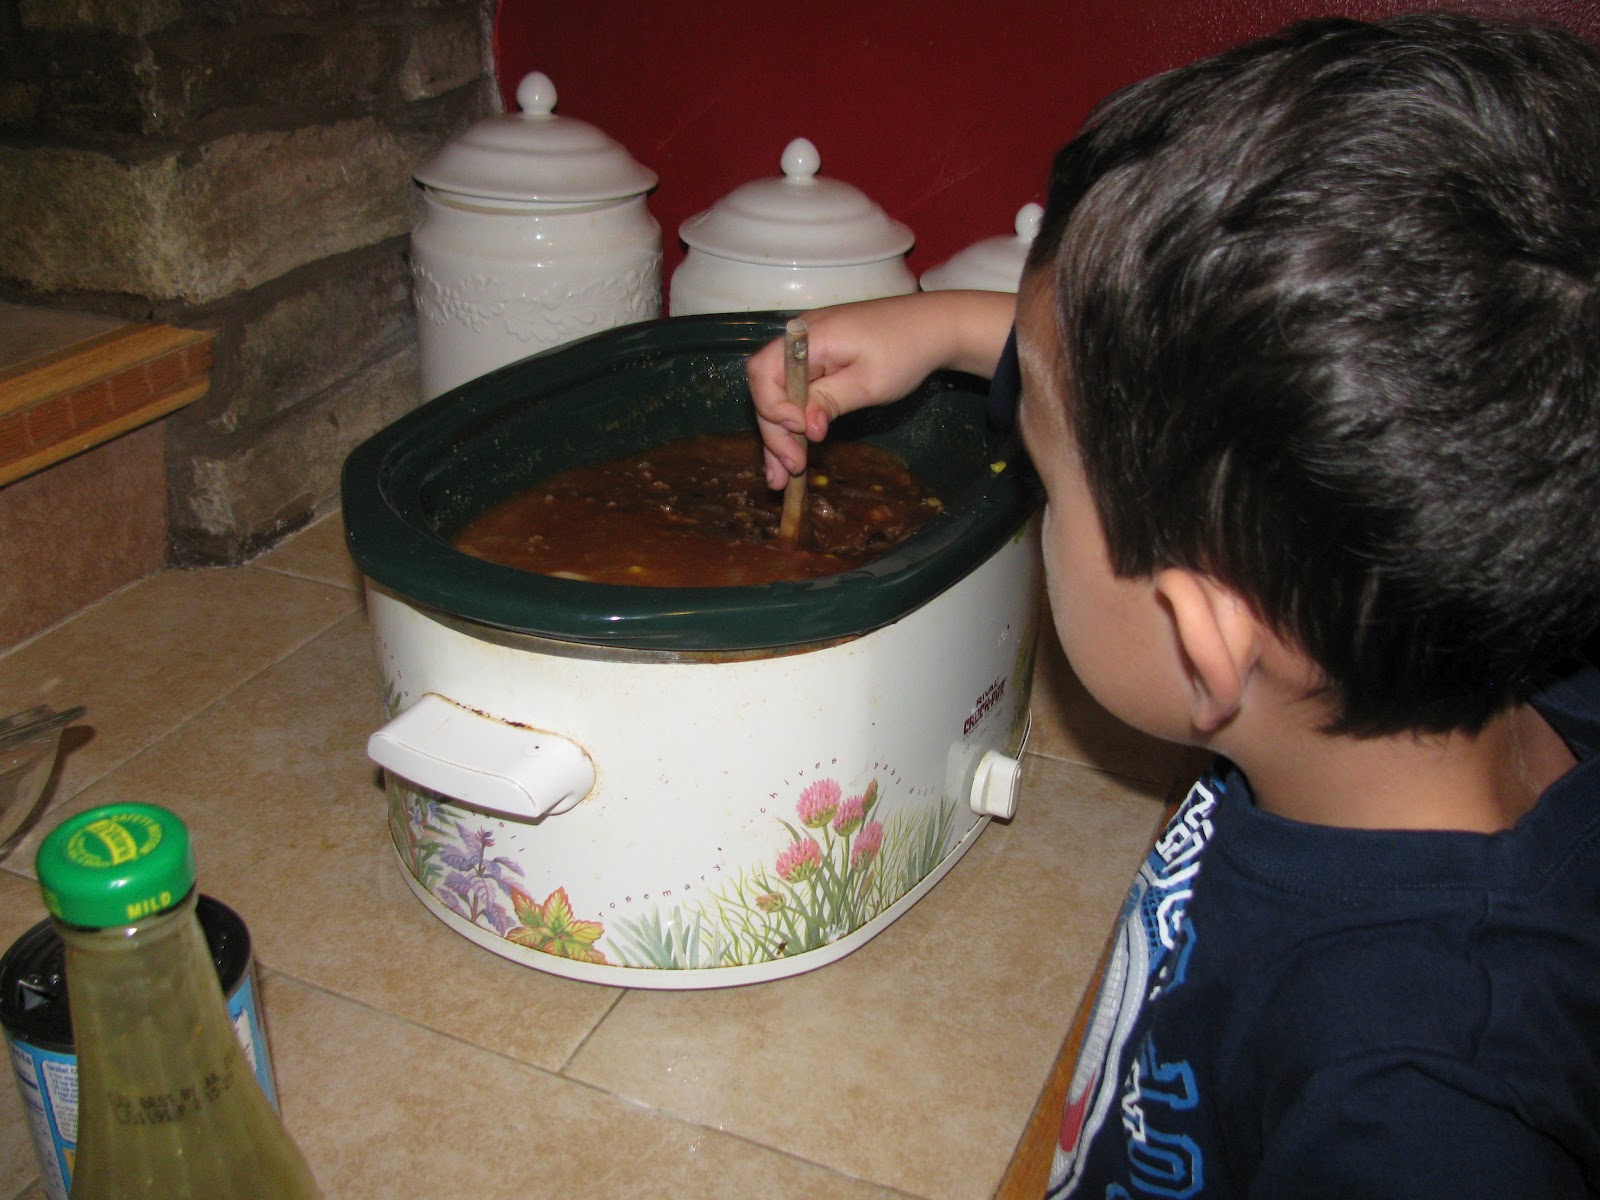
Stir well. Cover and reduce heat to medium- low. Cook 4-6 hours
stirring occasionally. Adjust seasoning to your taste. If the
stew is starting to look too thick add more liquids, I usually just add water.
Cooking low and slow helps tenderize the meat and to
really let all the wonderful flavors develop. The onions, carrots
and garlic will actually melt into the stew leaving behind
their delicious flavors. |
 |
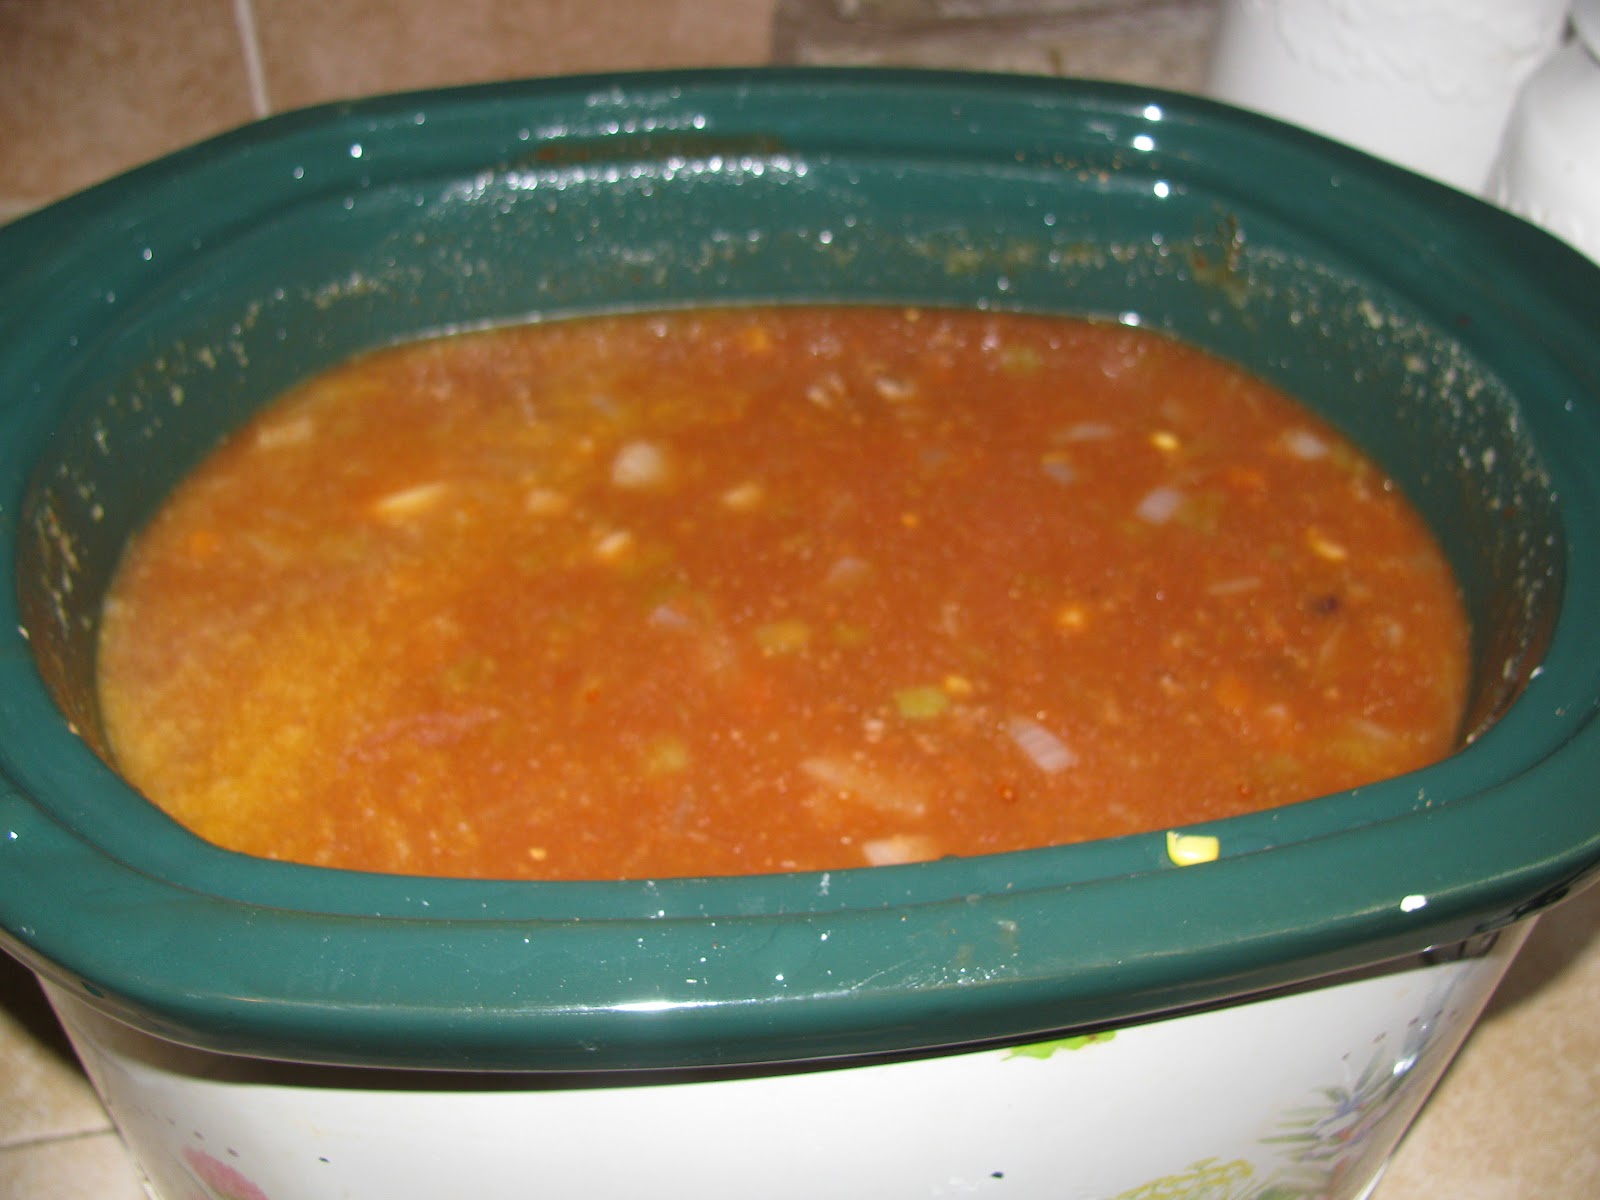
| Almost finished! |
 |
When you have about 1 hour left of cooking you are going to
add 1-2 cans cut green beans (use fresh if you prefer, grocery
store did not have good looking fresh beans) and 2-3 chopped
carrots (use canned if preferred). Cover and continue to cook
until the veggies are tender. Taste your stew occasionally to
adjust the spices to your taste. |
 |
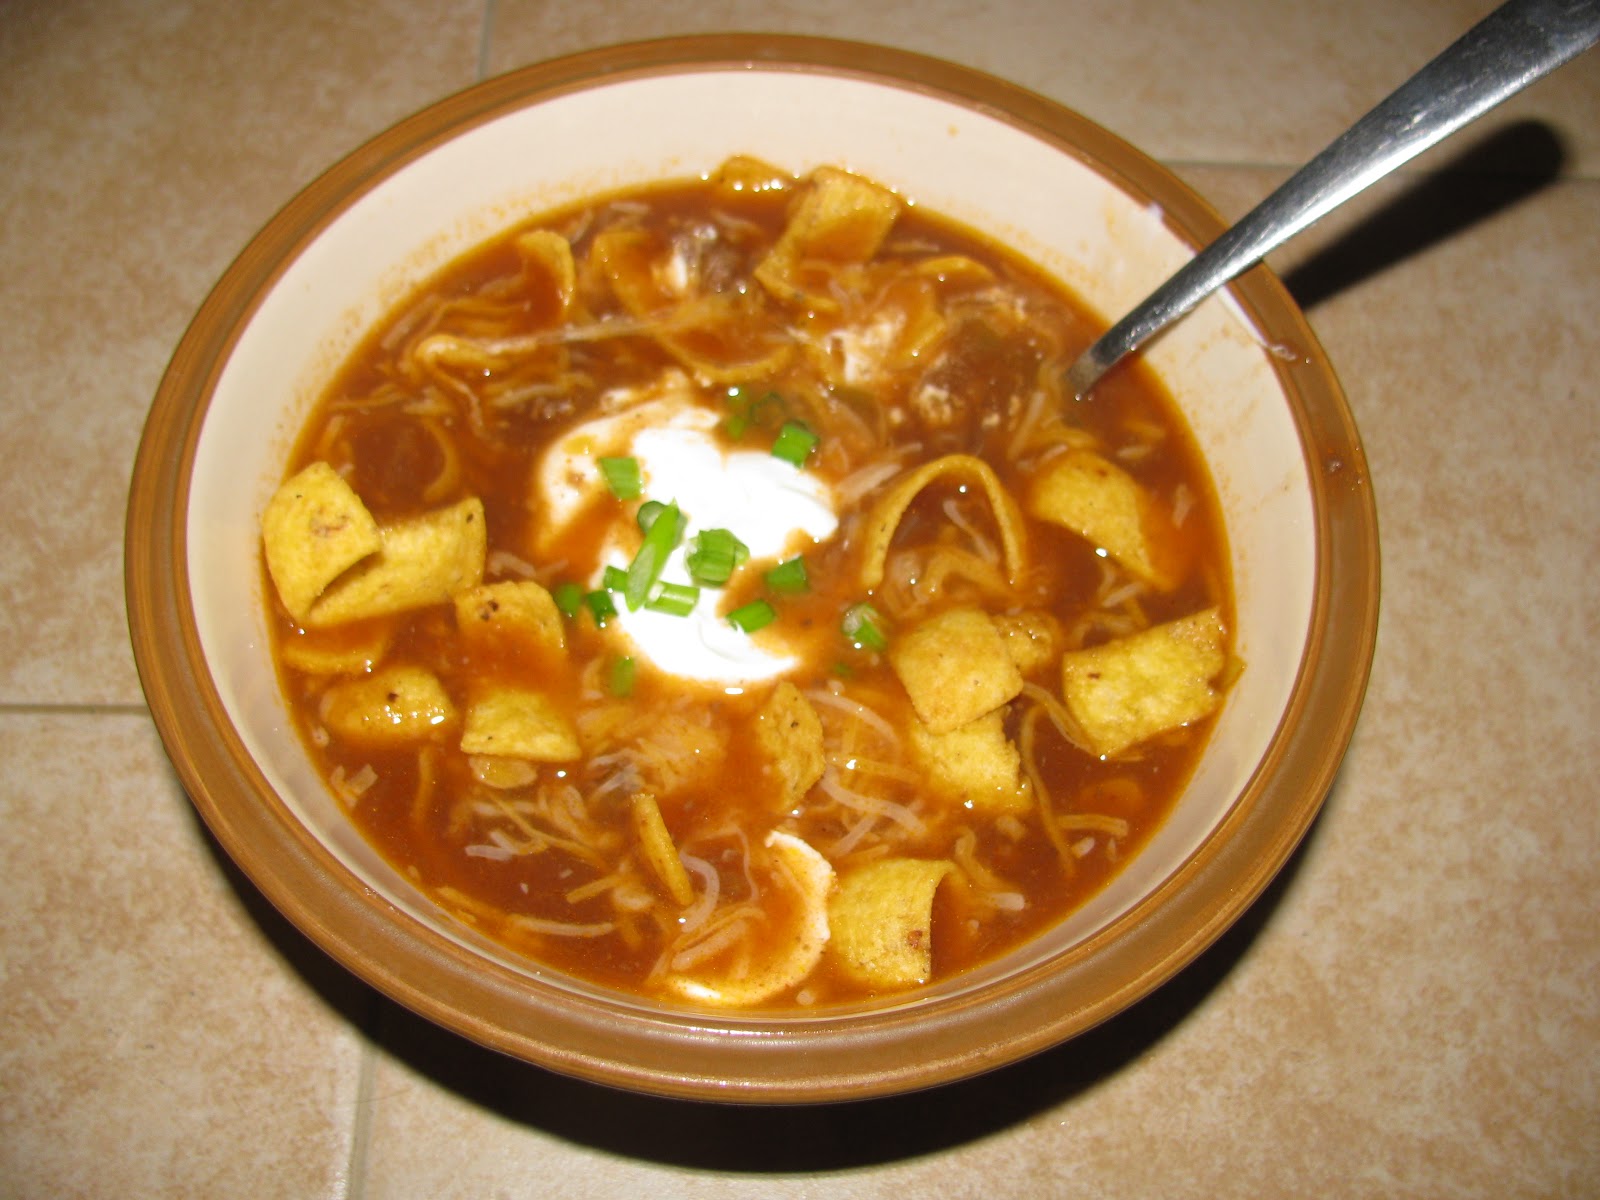
We like to serve ours over some white rice. And for a special
touch we sometimes (OK, more like every time) serve crispy homemade french fries
over the top. |
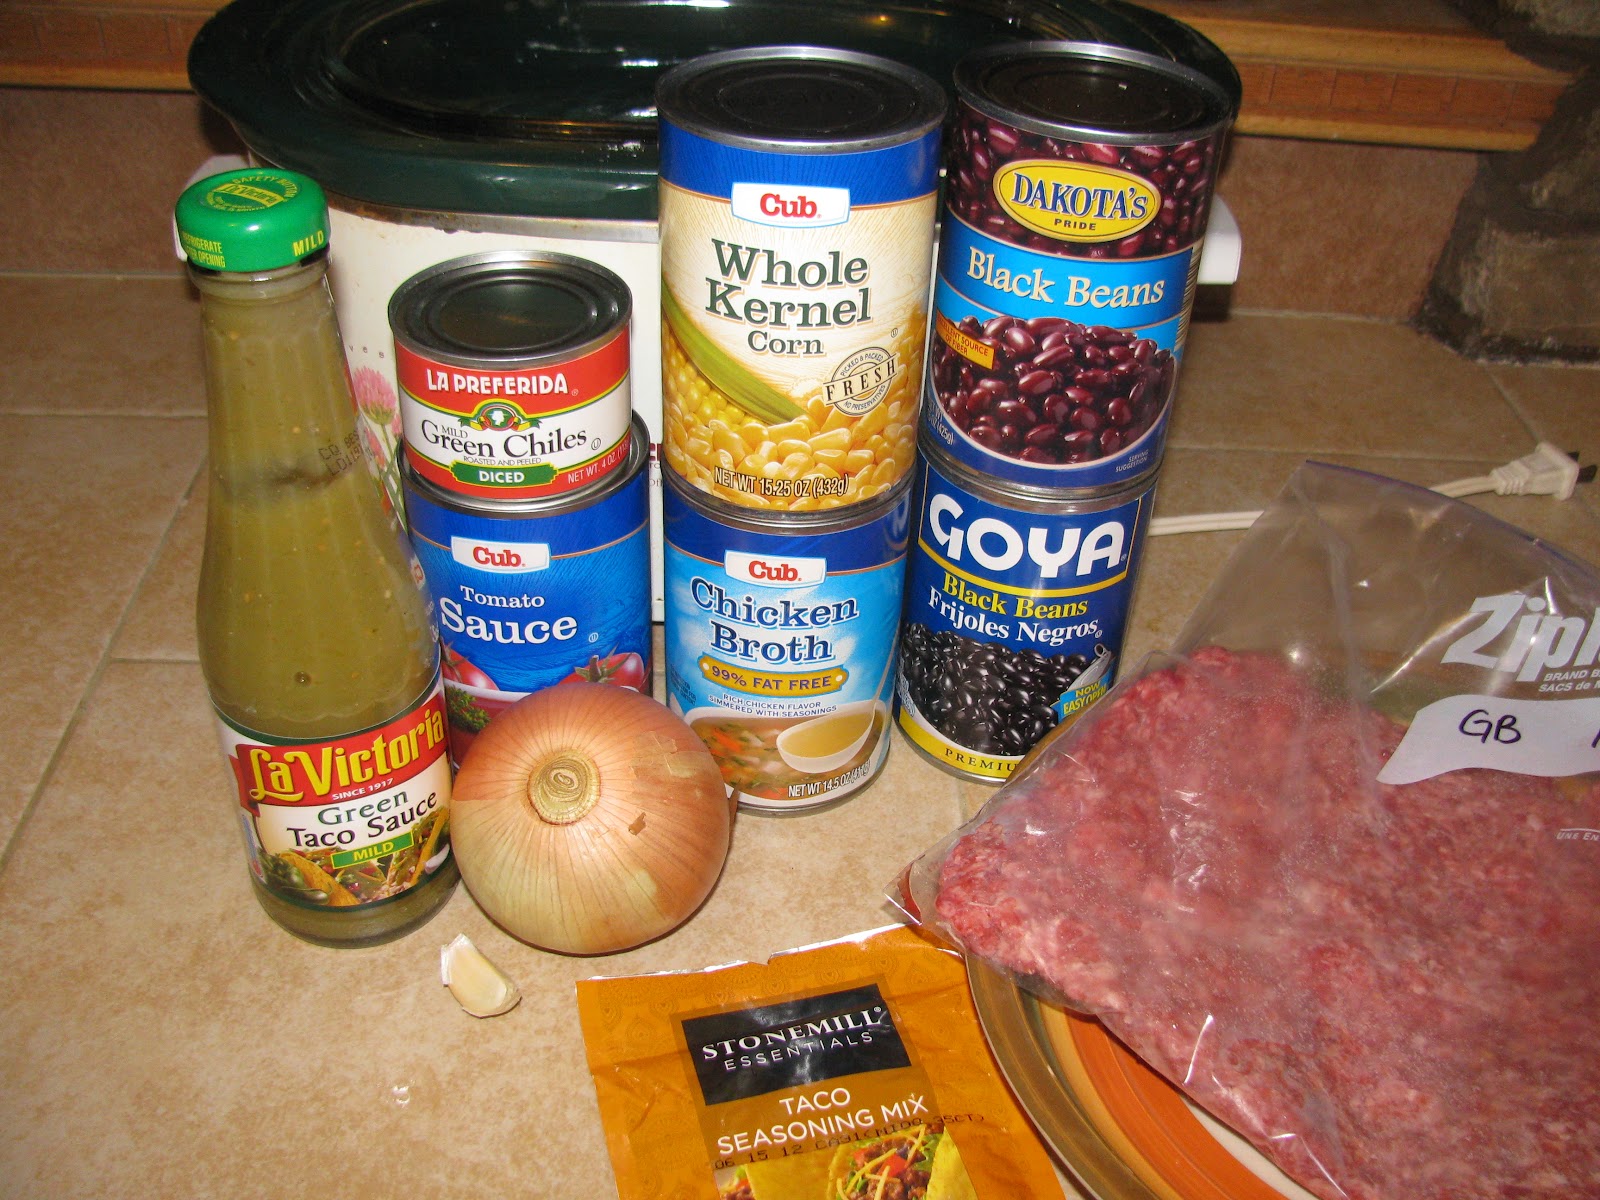
Ingredients
1 1/2 pounds beef stew meat
1 gallon size Ziploc bag
1 Cup flour
1 tsp. salt
1 1/2 tsp. garlic powder
1 tsp. black pepper
2 large onions, thinly sliced
4-5 carrots separated, peeled and chopped
4 cloves of garlic finely chopped
olive oil
1 beef bouillon cube or 1 can beef or vegetable broth
1-8 ounce can of tomato sauce
1-2 cans of cut green beans or 2 Cups fresh green beans
Directions
*In Ziploc bag combine flour, salt, garlic powder and pepper. Set aside.
*Thinly chop 2 large onions, 2 carrots and the garlic. Add 1-2 Tablespoons
olive oil to large pot or pan and heat to medium-high heat. Add the chopped veggies
and cook 5-8 minutes or until veggies are tender. Remove from pan.
*While veggies are cooking prep your stew meat, cutting the pieces into smaller
bite size pieces. Place stew meat in Ziploc bag an give it a good shake to coat the meat.
Add 2-3 Tablespoons of olive oil in your pot or pan and heat over med-high heat.
Add the stew meat and brown well on both sides.
*While meat browns heat 1 1/2 Cups water and one bouillon cube to a boil,
turn off heat and let the bouillon cube dissolve (skip this step if you are using
canned broth).
*When meat is browned, add back your cooked veggies, broth, and tomato
sauce. Stir, cover and turn heat down to med-low. *Cook low and slow 4-6 hours stirring
occasionally and adjust seasoning to your taste. You might also need to add more liquids depending on how thick or thin you like your stew.
* 1 hour before serving add your 2 cans or fresh green beans and your reserved carrots.
Continue to cook until veggies are tender.
A delicious and hearty meal sure to please even the pickiest eaters! Enjoy alone or over white rice and oven warm bread. I hope you enjoy!
~Be Blessed and be a Blessing~
Rebecca
Copyright © 2013 · All Rights Reserved · www.andasprinkleoflove.com
Tags: and a sprinkle of love, beef, beef stew, believers, Bible, blessed, blessing, budget, budget friendly meals, budget meals, burdened, children, christ, Christian, christian blogger, Christian mother, Christian wife, Christian woman, christianity, comfort, comfort food, dinner, easy, Encouragement, Eternal Vaue, faith, family, family favorite, family friendly, food, God, gratitude, hearty stew, homemaker, homemaking, housewife, husband, Jesus, Joy, love, meal planning, media, menu, menu planning, motherhood, parenting, prayer, recipe, rice, scripture, Servant, servants heart, serving, slow cooking, stew, supper, tasty tuesday, teaching, transformation, trust, Truth, weary, what's for dinner, wife, winter, Woman