Tag Archives: homemade

Aldi Grocery Haul-4-25-16

27 Apr

Welcome to my Aldi grocery haul for my family of 5. I am always looking for fresh inspiration and I love to see what other families enjoy buying and eating. I have been loving the beautiful spring/summer fresh fruits and vegetables hitting the shelves….and I love that shopping at Aldi makes it possible for us to eat well and stay in budget.

Click here to see our latest haul.

If you’re an Aldi shopper what are some of your favorite products?  Leave me a comment  or a link, I would LOVE to check it out!

Thanks for visiting!

~Be Blessed and be a Blessing~

Rebecca


Copyright © 2016 · All Rights Reserved · www.andasprinkleoflove.com

Photo Credit: Aldi and Google Images

Advertisement

Homemade Croutons

18 Apr

This is a public service announcement.

It seems for years we have been doing our salad injustice!  We take our beautiful fresh garden greens and top it with stale, artificial tasting, bagged croutons. Why?  Because we didn’t realize making our own was so easy!

I have always been a sorta like croutons kind of girl but once I started making my own, they have pretty much become more than just a salad topping.  My family will eat these for a snack, my daughter’s boyfriend asks to take some home whenever he comes for dinner, and friends and family are always wanting the recipe.

Because I consider you all friends…I want to share the recipe with you too!

Keep reading for the salad changing printable recipe.

cro

The stars of the show. 8 simple, mostly pantry staples.

cro1

Get your butter, oil and spices in a 9×13 baking dish and place that in your pre-heated oven.

cro2

Cube your baguette into bite size pieces.

cro3

After about 30 minutes, this gloriousness happens! Crispy without the expensive dentist bill and so flavorful!

cro4

Garden fresh salad topped right!


Click here for the printable recipe.

See, simple right?

Is there something you make homemade that is much better than store bought?  Please share a link or comment down below, I would love to check it out!

Thanks for visiting.

~Be Blessed and be a Blessing~

Rebecca

You can also find me on Pinterest


Copyright © 2016 · All Rights Reserved · www.andasprinkleoflove.com

Simple Salisbury Steak

16 Apr

One of the greatest successes’ of motherhood has to be the moment when you serve a meal your whole family loves.  It’s a moment when the clouds part, the Hallelujah Chorus is cued, and for the next 30 minutes all is right with the world. You live for those blissful moments, am I right!?!

Anyway, that is what this recipe does for our family and I am pretty confident it could give a moment to you too!

Keep on reading for the printable recipe.

steak

The stars of the show. Ok, don’t let the gravy mixes get you nervous…sometimes mama needs a shortcut.

steak1

Everything but the gravy gets thrown into bowl. Get your hands in there and give it a quick mix.

steak2

I usually shape them into 4-5 patties. They will be thick but that just adds to the yumminess. I promise, they will NEVER know about the hidden mushrooms 🙂

steak3

After browning the beef on both sides you will momentarily remove the patties from the pan so you can get the gravy started….Kinda makes it sound like a party!

steak4

Once the gravy comes together, it is time to add the patties back in. This is where good things happen!


Here you have it!  We like to serve this with either mashed potatoes or rice.

Click here for the printable recipe

What recipe brings your whole family together? Please leave a link or comment below, I would love to check it out!

Thanks for visiting!

~Be Blessed and be a Blessing~

Rebecca

You can also find me on Pinterest


Copyright © 2016 · All Rights Reserved · www.andasprinkleoflove.com

Creamy Southwest Chicken Soup

13 Apr

I just love those mindless, economical, quick throw together dinners.  We had a (healthy…I sometimes get called out for the unhealthy recipes….balance, my friends, balance.) baked whole chicken for dinner last night and I used the carcass to whip up a yummy homemade broth for tonight’s dinner. You can definitely use store bought broth and it is just as good.  So if you are interested in not spending a large portion of your evening preparing dinner tonight keep reading for the printable recipe.

soup1

Cast of characters. Mostly pantry staples.

soup2

Dump all the ingredients in to the crock pot, give it a quick stir, and forget-about-it!


soup3

Soup, glorious, soup! This cooked low and slow in my slow cooker for about 7 hours. Add a little garnish and VOILA! Simple, hearty, family favorite!


Click here for the printable recipe

What is your favorite mindless, quick, throw together dinners?  I am always looking for inspiration!

Thanks for visiting!

~Be Blessed and be a Blessing~

Rebecca

You can also find me on Pinterest


Copyright © 2016 · All Rights Reserved · www.andasprinkleoflove.com

Lemon Pudding Cake

17 Mar

Just like a song, a certain food can transport you to a certain moment.  This cake makes me think of Easter of 2009…..my son was one and already a master climber (ask me about the loft incident sometime).  I had just cut the cake and placed it in the center of the table so I could serve my family. Fast forward about eight seconds later and here is my pantless, diapered bottom, sweet son, attacking the cake.  As any good mother would do, I first grabbed my camera before removing him from the cake.

jakes

Oh, Jacob!

This cake looks like you spent hours in the kitchen but really this semi homemade cake is a cinch to make and people will love you forever if you make this for them…true story!

p

This is all you need. Bake cake according to package directions.

p8

Grease cake pans.

p7

Evenly distribute batter between both pans ( a little over two cups per pan).

p6

Once cakes are completely cool ( 2-4 hours) mix pudding mix with 1 1/2 milk for about one minute or until thickened.

p5

Frost each layer with half of pudding mixture and stack.


p4

Frost with whipped topping and refrigerate at least four hours before serving.

p2

Moist, dense, decadence!

p3

p1

Middle of the night refrigerator view….the struggle is real friends!


Click here for the printable recipe


I hope you enjoy the cake as much as we do. Thanks for visiting!
 
~Be Blessed and be a Blessing~
Rebecca


You can also find me on Pinterest


Copyright © 2016 · All Rights Reserved · www.andasprinkleoflove.com

Nutella Banana Muffins

29 Feb

There are three things in life I adore…Jesus, my family, and Nutella…….clearly I am a girl who has her priorities in order 😉

One of my most requested recipes is this one. Somehow, something magical happens when you bring Nutella and Bananas together……the clouds part, the sun shines, and for a brief moment siblings get along.

So if you know what is good for you, you’ll keep reading for the recipe.

muffin2

The makings of happiness

muffin4

Take a minute to mash your bananas well.

muffin3

Sift your dry ingredients together.


muffin5

Add the sugar, oil, vanilla, and egg to the bananas.

muffin6

Don’t be shy with the Nutella!

muffin

Bake until they are golden on the outside……..

muffin8

…and moist and decadent on the inside. Trust me they are worth the calories!

Nutella Bomb Banana Muffins

by Rebecca Vahdat

Prep Time: 10 minutes

Cook Time: 14-17 minutes

Keywords: bake Nutella Muffins


Ingredients (12 muffins)

  • 1 1/2 C. flour
  • 1 tsp. baking powder
  • 1tsp. baking soda
  • 1/2 tsp. salt
  • 2 ripe bananas, mashed
  • 3/4 C. sugar
  • 1/3 C. oil
  • 1 egg, beaten
  • 1 1/2 tsp. vanilla
  • 1/2-1 TBSP Nutella per muffin

Instructions

Pre heat oven to 375. Line muffin tin with cupcake liners.

Sift together flour, baking powder, baking soda, and salt and set aside.

In a separate bowl add bananas and mash well. Stir in sugar, egg, oil, and vanilla and mix well.

Add the dry ingredients to the banana mixture and mix until just combined.

Fill muffin cups 3/4 full and top each unbaked muffin with 1/2-1 TBSP of Nutella and with a knife or toothpick and lightly swirl the Nutella and batter together.

Bake 14-17 minutes.

Powered by Recipage


I hope you love them as much as we do!  If you make them, stop by and share what you think!  Thanks for visiting.

~Be Blessed and be a Blessing~

Rebecca

You can also find me on Pinterest

Copyright © 2016 · All Rights Reserved · www.andasprinkleoflove.com

Mama is Cookin’ Fancy Tonight!

1 Oct

I don’t know about you, but sometimes I get into a cooking rut! I just throw together the same 5-6 meals  over and over again. My family is very slow to complain about what they are eating, but you can just tell that there is no real excitement about the same meal they just ate 4 days ago. I have found that with a little extra effort you can put together a simple meal that will make your family or guests feel extra special!

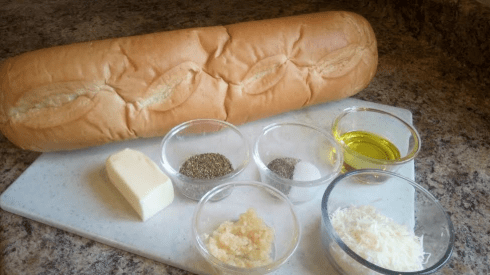
 To start, you are going to need 1 green pepper, 1 large onion, 1 package
button mushrooms and 2 cloves of garlic.
I have about a 1 1/2- 2 pounds boneless pork chops that are about
1 1/2 inches thick, salt, pepper, garlic powder and turmeric.
Wash the green pepper and mushrooms. Thinly slice the green
pepper, onion and mushrooms and finely chop the garlic. In a
frying pan add 1 Tablespoon of olive oil and heat over med-high
heat. When pan is hot add the green pepper, and onion.
sautee’ for 4 minutes and then add the mushrooms.
Sautee’ for an addition 2-3 minutes or until the veggies are just tender. Add garlic.
Remove veggies from pan and set aside. Add 2 Tablespoons of olive oil
to the same frying pan and heat on med-high heat.
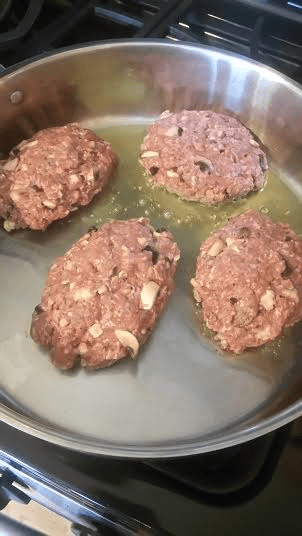
I sliced my pork chops in half because they were a little to
thick for me and it greatly reduces the cooking time.
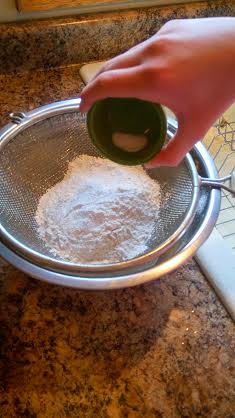
Sprinkle both sides to your liking with salt, pepper, garlic
powder and turmeric. Place in pan and let sear for 3-4 minutes
and flip pork chops and turn your pan down to med or if browning too
much down to med-low.
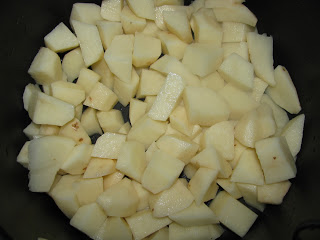
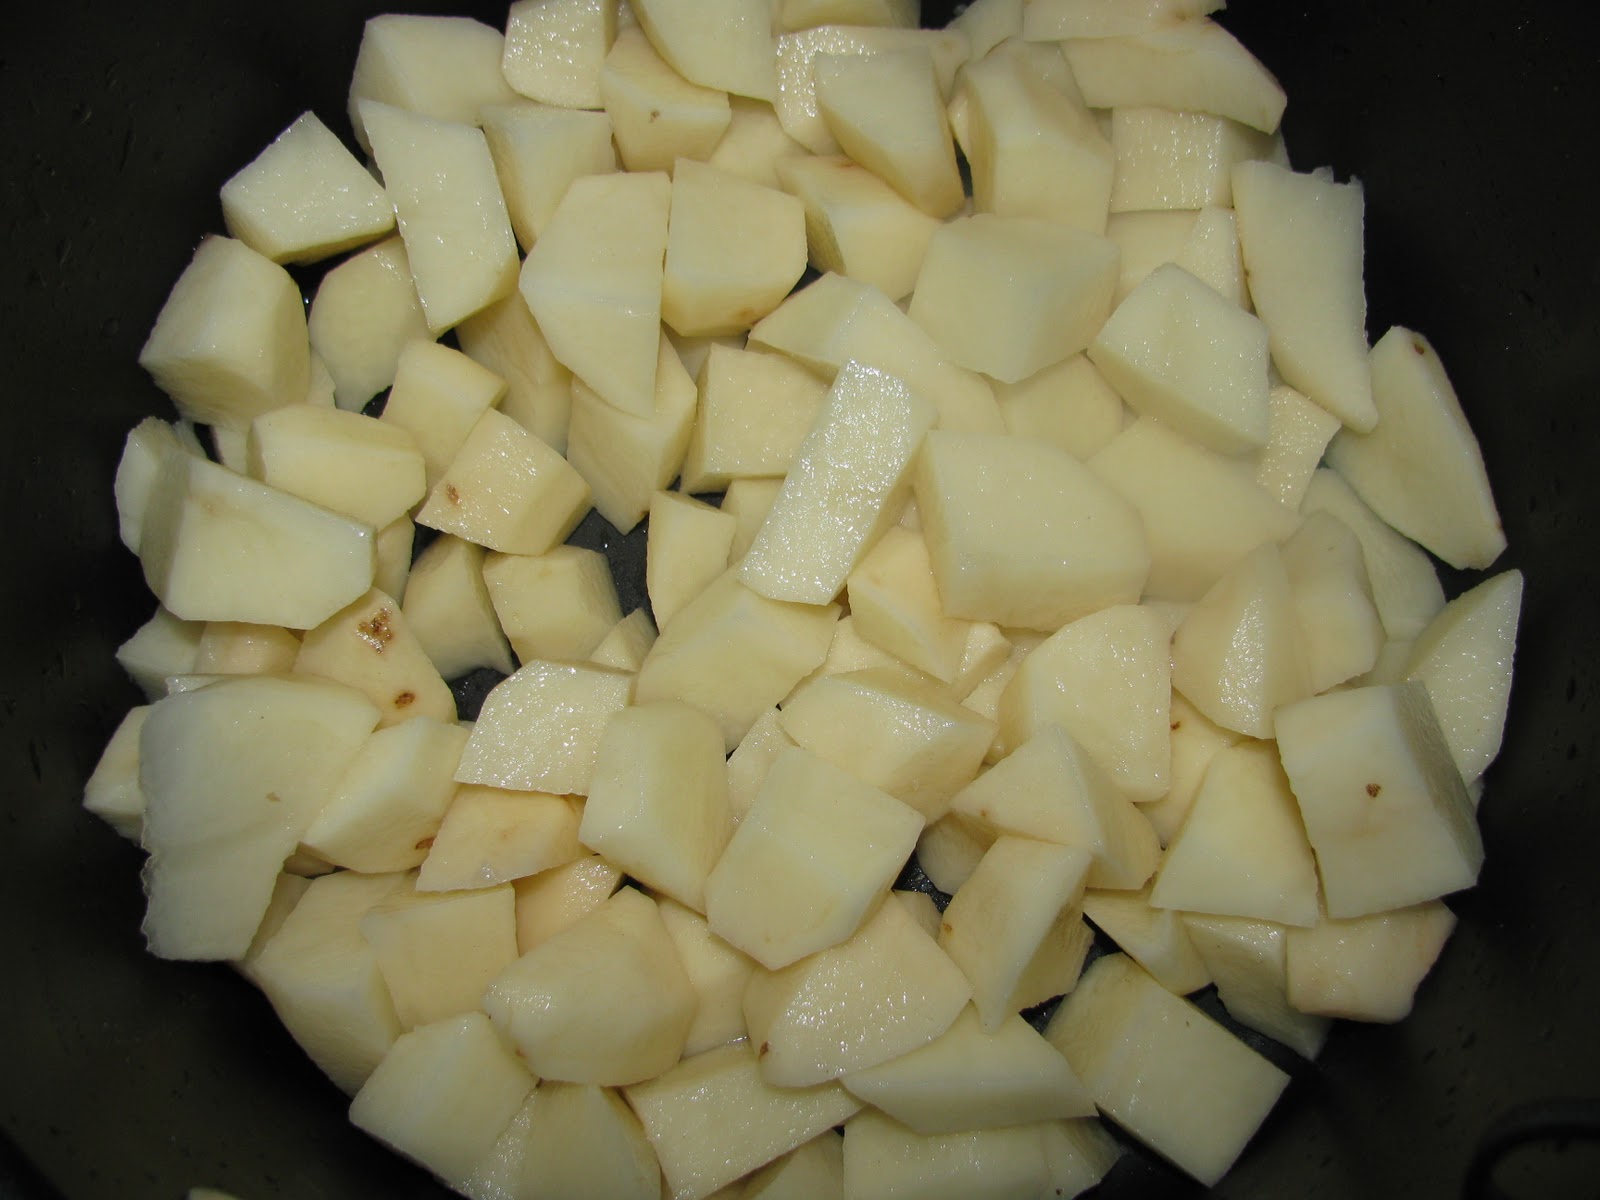
I like to serve my pork chops with real mashed potatoes. I peeled
and washed about 8-9 medium sized potatoes. Cut them in small
pieces so they will boil in no time. Place cut potatoes in a large pot
and cover potatoes with water up to one inch over potatoes. Cover
pot and heat on high heat until potatoes start to boil. Turn heat down
to med-high and remove lid enough to let the steam escape. Continue
to boil 10-12 minutes or until the potatoes are fork tender (fork
easily pierces potato without force or effort).  Drain into a colander
and immediately add your drained potatoes back into hot pot.
This helps to dry up the excess water on the potatoes.
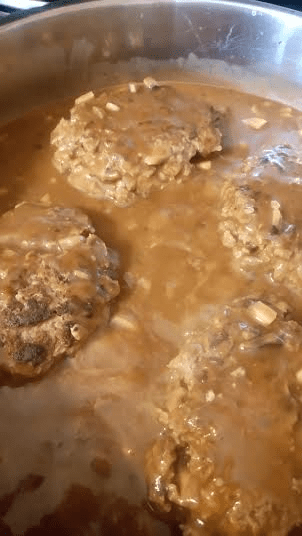
You want your pork chops to have this nice carmely color.
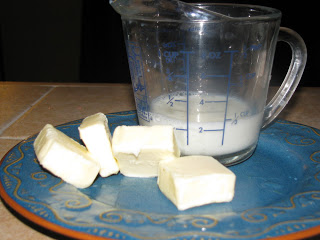
To the potatoes add 4-5 Tablespoons of butter, 1/2 Cup warm
milk, 1/2 Cup sour cream, salt and pepper to taste.
Start mashing:) Yes, making homemade mashed potatoes is
a little more work than instant, but oh so worth it!
Keep mashing until the potatoes are mostly smooth and
really creamy. Add more butter, milk or sour cream to
get the desired consistency of your potatoes. I actually
ended up adding an extra Tablespoon of butter and a few
more splashes of milk. I like to put the lid on the potatoes
put it back on the stove to keep it warm until you’re
ready to serve.
Get several slices of thinly cut provolone cheese ready.
Enough for each pork chop.
When pork chops are cooked through, about 12-15 minutes
you are going to want to turn your pan down to low. Place a
heaping serving of your sauteed vegetables on top of each
pork chop.
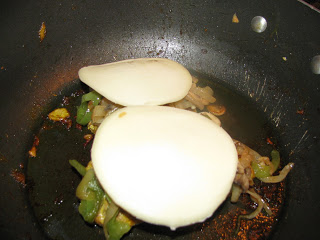
Top each pork chop with a slice of provolone cheese. Cover
and let the cheese melt and get all deliciously gooey.
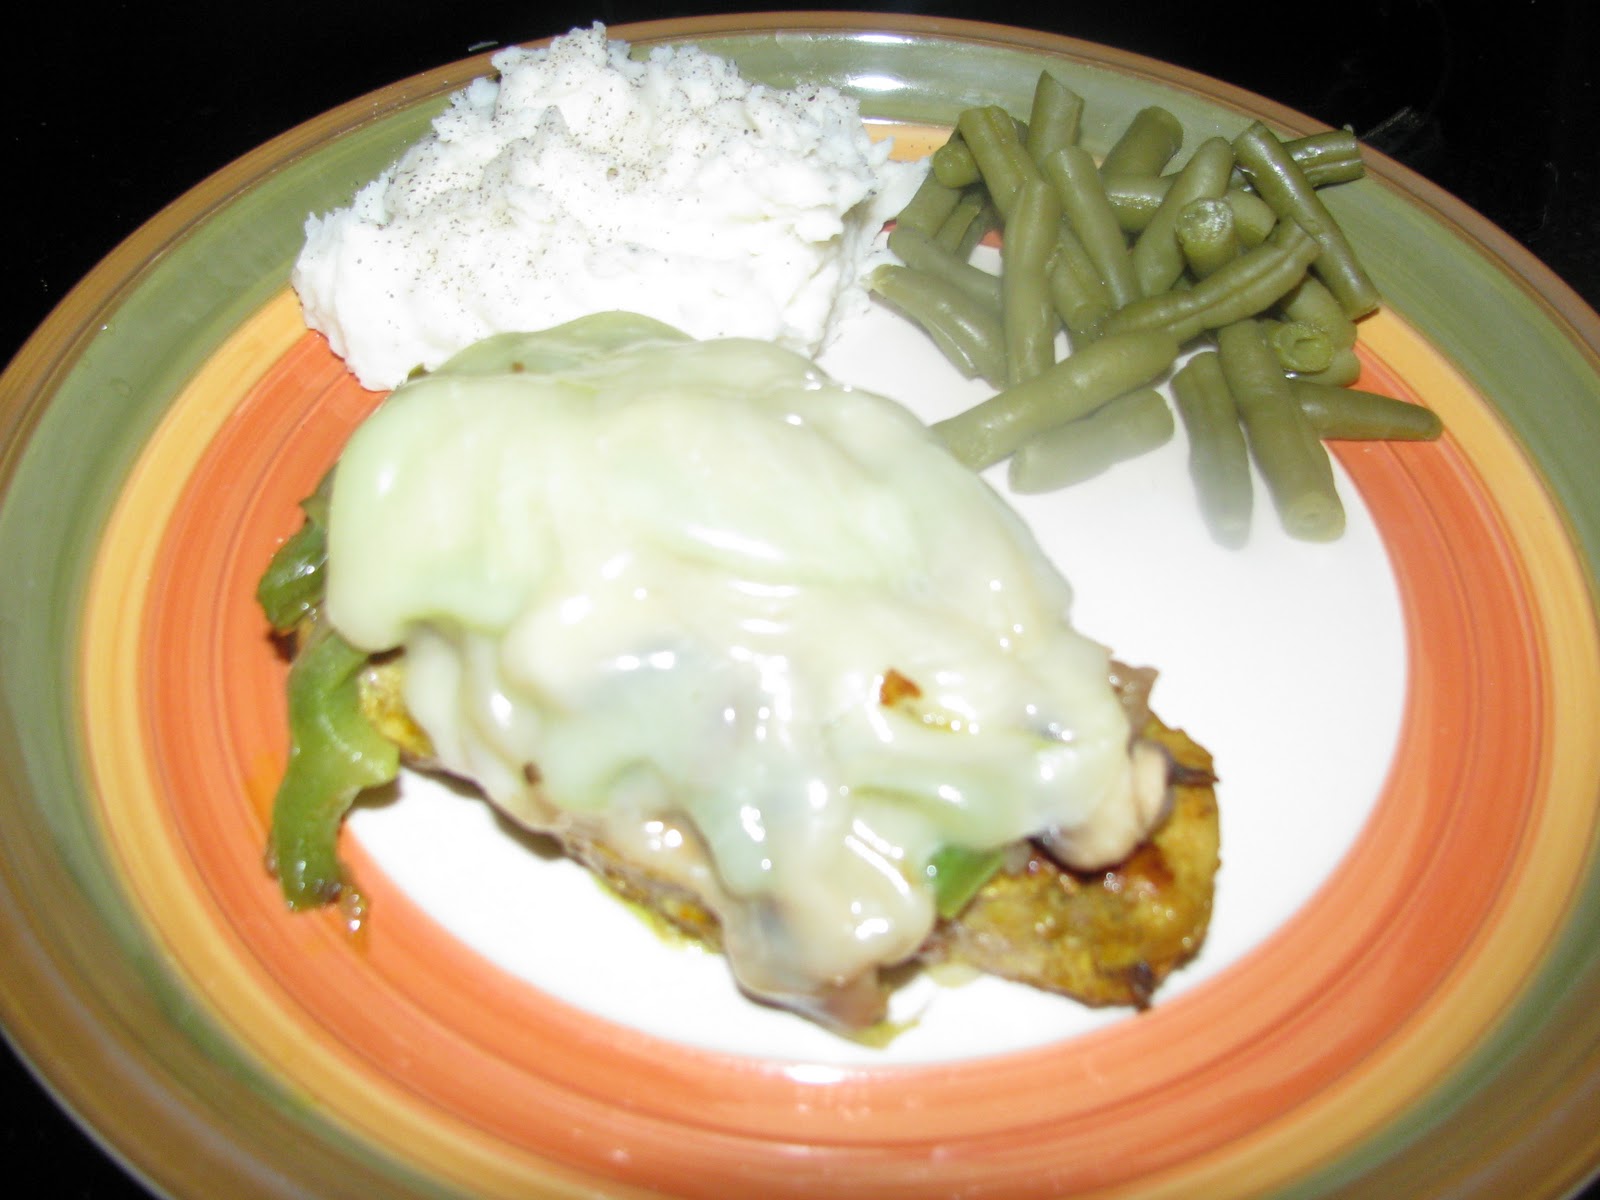
Serve right away with your delicious creamy sour cream
mashed potatoes. From ordinary to ‘fancy’ in no time!
Ingredients
1 green bell pepper
1 large onion
1 package fresh button mushrooms
2 cloves of garlic
1 1/2 -2 pounds boneless pork chops
thinly slice provolone cheese; enough for each pork chop
8-9 medium baking potatoes
olive oil
1/2 Cup of milk
1/2 Cup sour cream
4-5 Tablespoons of butter
salt
pepper
garlic powder
turmeric

I hope you and your family and friends enjoy this simple yet delicious dish! We have also enjoyed this dish with tri- colored bell peppers and when I am serving just the adults, I will sometimes substitute a little pepper jack cheese. Have fun with it and make it your own. This recipe was made to accommodate our family of 5 with enough left over for daddy to bring to work the next day.   What is one of your family favorite meals?  I would love to know!  Please leave a comment or a link to your favorite recipe. Thank you for taking the time to visit!

~Be Blessed and be a Blessing~
Rebecca
Let’s connect on Pinterest!

Copyright © 2013 · All Rights Reserved · www.andasprinkleoflove.com

Meatloaf Muffins

27 Aug

What did you have for dinner tonight? I made for my family my meatloaf muffins. They take about 15 minutes to put together and you can customize them depending on the tastes of each family member (no whining when everyone can make their own). Use your favorite meatloaf recipe or you can give mine a whirl.

My basic meatloaf recipe is easy peasy-I start with 1 1/4 pound lean ground beef
and 1 small onion grated (using a box grater).
I add in about 14-18 crushed saltines (yes, saltines), 1 egg beaten, a few
splashes of milk, salt, pepper, and a little onion powder.
Mix Well.
This made exactly 12 muffins. From left to right-Row 1 topped with BBQ sauce
 and sliced onion. Row 2 made a well and put American cheese slices. I sealed the beef
 over the top and topped with ketchup and onion. Row 3 topped with ketchup and
 onion. Row 4 made a well and put in Colby-Jack cheese sealed it up and topped
 with BBQ sauce. Use your imagination! Bake at 350 for about 20 minutes and
 voila! Dinner is done! The meatloaf cooks through without drying out.
Here is what you get (American cheese stuffed topped with ketchup).
We serve ours with some mashed potatoes and salad.
What are your favorite easy go to meals?  If you’re a food blogger (or have a food blog you love) leave me a link in my messages, I would love to see what’s cookin’ in your neck of the woods.
~Be Blessed and be a Blessing~
Rebecca
Let’s be Pinterest friends!
Linked up with

Copyright © 2013 · All Rights Reserved · www.andasprinkleoflove.com

Homemade Corndog muffins

21 Aug

I have been inspired by many Pinterest recipes some with and some without success.  Here is my version quick, easy, and delicious.  Keep reading for the printable recipe.

This is all you need!
My lovely assistant is demonstrating putting the hot dog pieces into the muffin pan.
Cover each hot dog piece up with some batter and bake for 15 minutes.

                                                                                                                                                
                                                                                 Voila!   Let cool in the pan for about 5 minutes to avoid them becoming a crumbly mess .  Was it a success?  Let’s find out…..                                                 Two enthusiastic thumbs up from my boy-o-boy.  He prefers it with no cheese.  As for my Mells?…..


She gives it two thumbs and two toes up! She prefers hers with cheese.
Like it spicy?  Add some chopped Jalapenos to the batter.  Want it more meaty? Go ahead and add more hot dog to each cup.  Have fun making it your own!
 
 This recipe is economical, healthier than the fried alternative especially if you use turkey dogs.  It is quick, and easy enough the kids can help!  Makes a great on the go meal.   Thanks for visiting!
~ Be Blessed and be a Blessing~
Rebecca
Follow me on Pinterest

Copyright © 2013 · All Rights Reserved · www.andasprinkleoflove.com

Homemade Pizza

11 Aug

I know, I know- 5 dollar pizza and a slew of other pizza joints are just a phone call away-but why buy it when you can make it?! My family loves making their own little personal pizzas. I like to gather a lot of toppings and watch them create their own masterpieces! We did this recently and had ourselves a carpet picnic while watching Elf and the kiddos can’t wait to do it again! I promise yeast isn’t as scary as it sounds;) I hope you enjoy!

This is all you need to make dough: 3/1/2-4 C of flour (bread flour will
give you a crispier crust, all purpose will give you a chewier crust). 1 Pkg.
dry yeast, 1 tsp of sugar, 1 1/2 tsp salt, 2 TBSP olive oil, 1 1/2 C really warm water
110 degrees (run water on wrist water should be just shy of hot feeling).
You gotta wake your yeast up! I used 1/2 of my warm water, the sugar,
and the package of yeast. Give it a quick stir and let in proof for about 10
minutes. This is what it should look like. Bubbling over with happiness.
Add 3 1/2 C of your flour, salt, oil, remaining warm water, and yeast mixture to a large bowl
or in my case my stand mixer. If you don’t have a stand mixer, mix all ingredients
well in large bowl and then turn out dough on a well floured surface and knead
until smooth like a baby’s tushie and elastic-when you stretch it long it
shrinks back quickly to its previous size. Takes about 5-10 minutes. If you have a stand mixer-just throw
all ingredients in bowl and using your dough hook mix about 5 minutes. The results should be the same
as with the hand kneading technique.
Oil a large bowl and place the dough in it and brush the top of the dough lightly with oil.
Cover with a towel or plastic wrap and it will need to nap for about 1 hour or until
doubled in size.
*If dough is too sticky knead in the remaining 1/2 C flour.

                                          Punch down your dough, literally, and turn out on a flat surface.
                                                  Divide dough accordingly to your family. The kids’ pizza dough was
                                                  measured about baseball size (2 of those) and hubby and I split the
                                                  remaining dough in half. Work the dough into whatever shape and
                                                  thickness you want.
                                                  *Preheat oven to 500 and if you have one preheat your pizza
                                                    stone. Baking pan works fine too!

                                          Lay out your ingredients and let your family have fun creating thier
                                                   own pizza.

                                          Getting ready to bake!

                                          About 15-20 minutes later-it’s ready! See, happy faces and sweet memories!

Ta da! Easy Peasy!
I hope you enjoy!
Be Blessed and be a Blessing~
Rebecca
Follow me on Pinterest

Copyright © 2013 · All Rights Reserved · www.andasprinkleoflove.com

%d bloggers like this: