When we are wanting to whip up something quick but delicious, you will usually find a wrap on our dinner plates. Tortillas are so versatile, you can’t go wrong (well except for that one time…but we won’t talk about here). With a little prep work you can have dinner ready in a jiffy! This recipe will make 6-8 wraps.
 |
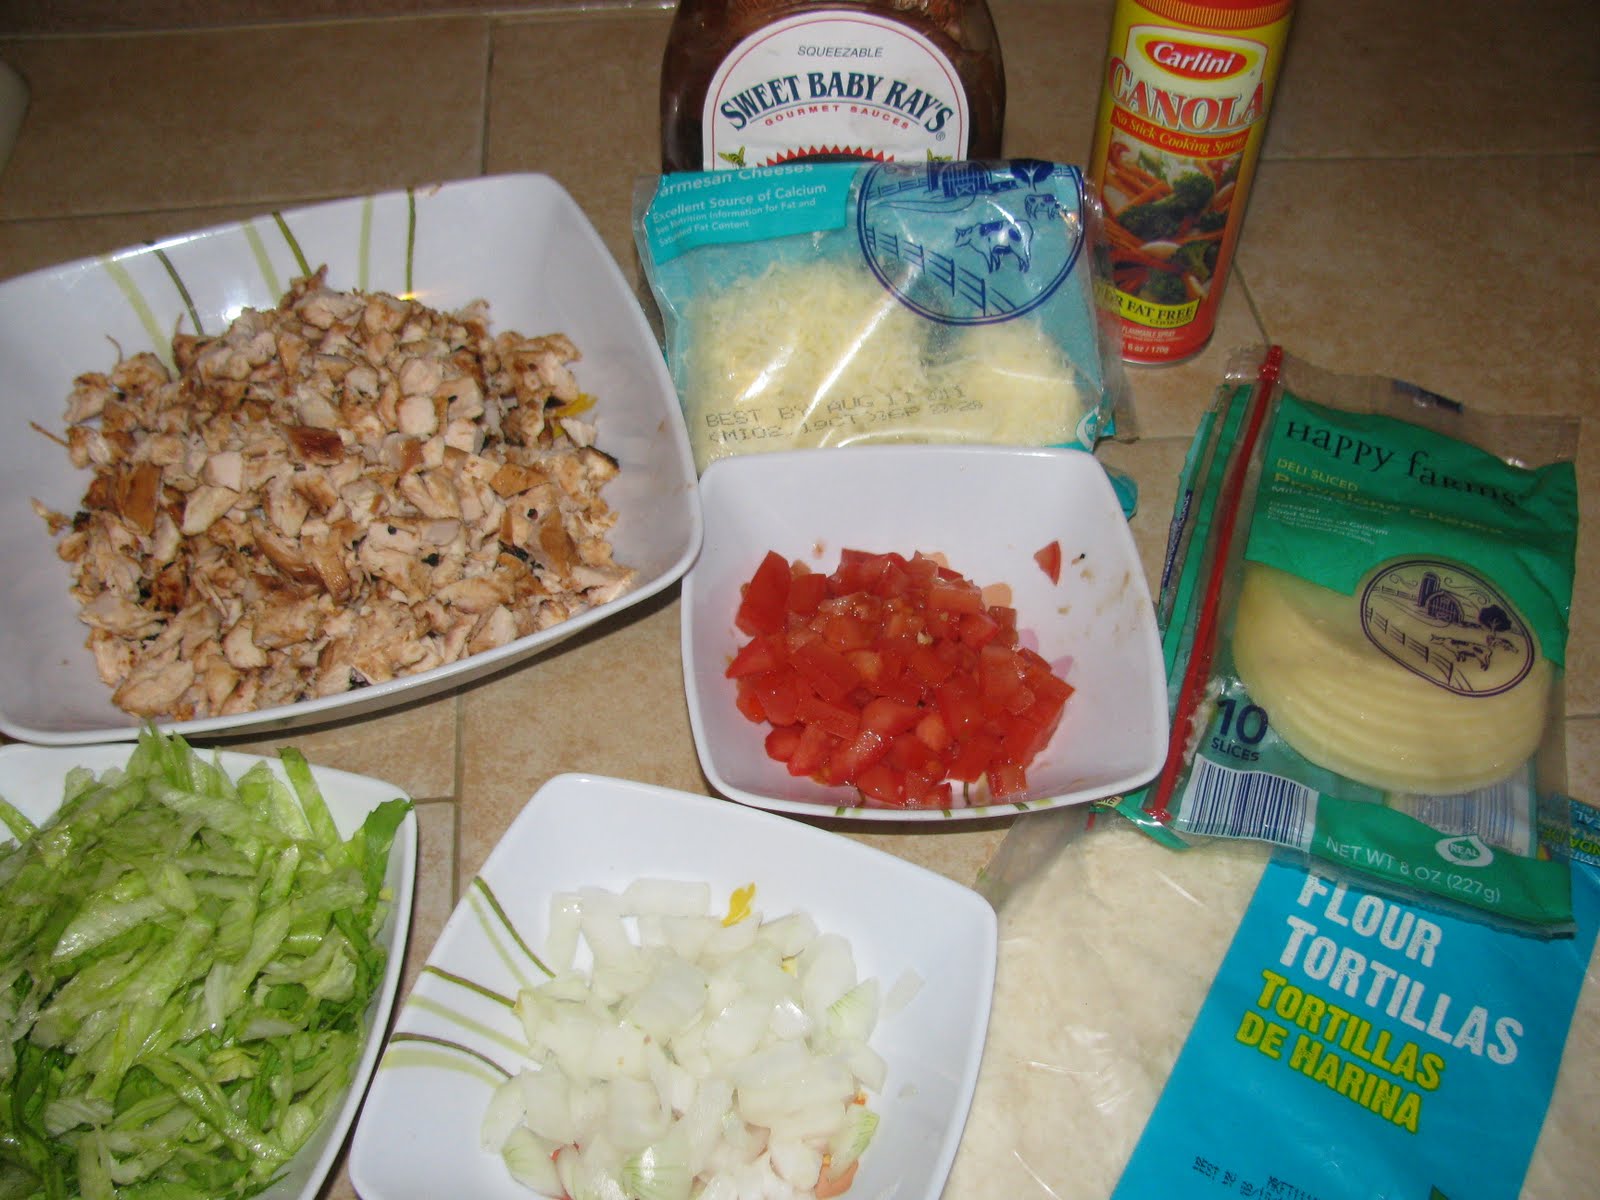
You are going to need 1 large green pepper, 1 large onion, 2-3 Roma tomatoes,
 1 8oz package of fresh mushrooms and 3 cloves of garlic. Chop pepper, onion,
 tomato and mushrooms into bite size pieces and finely chop the garlic. Set aside.
 1 package (8-10) of your favorite tortillas. *You'll want to turn your oven on warm now
 and add your tortillas if you are not microwaving them*
|
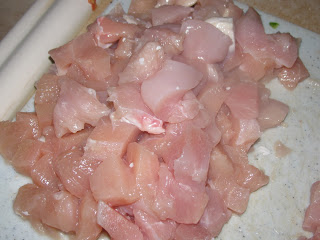 |
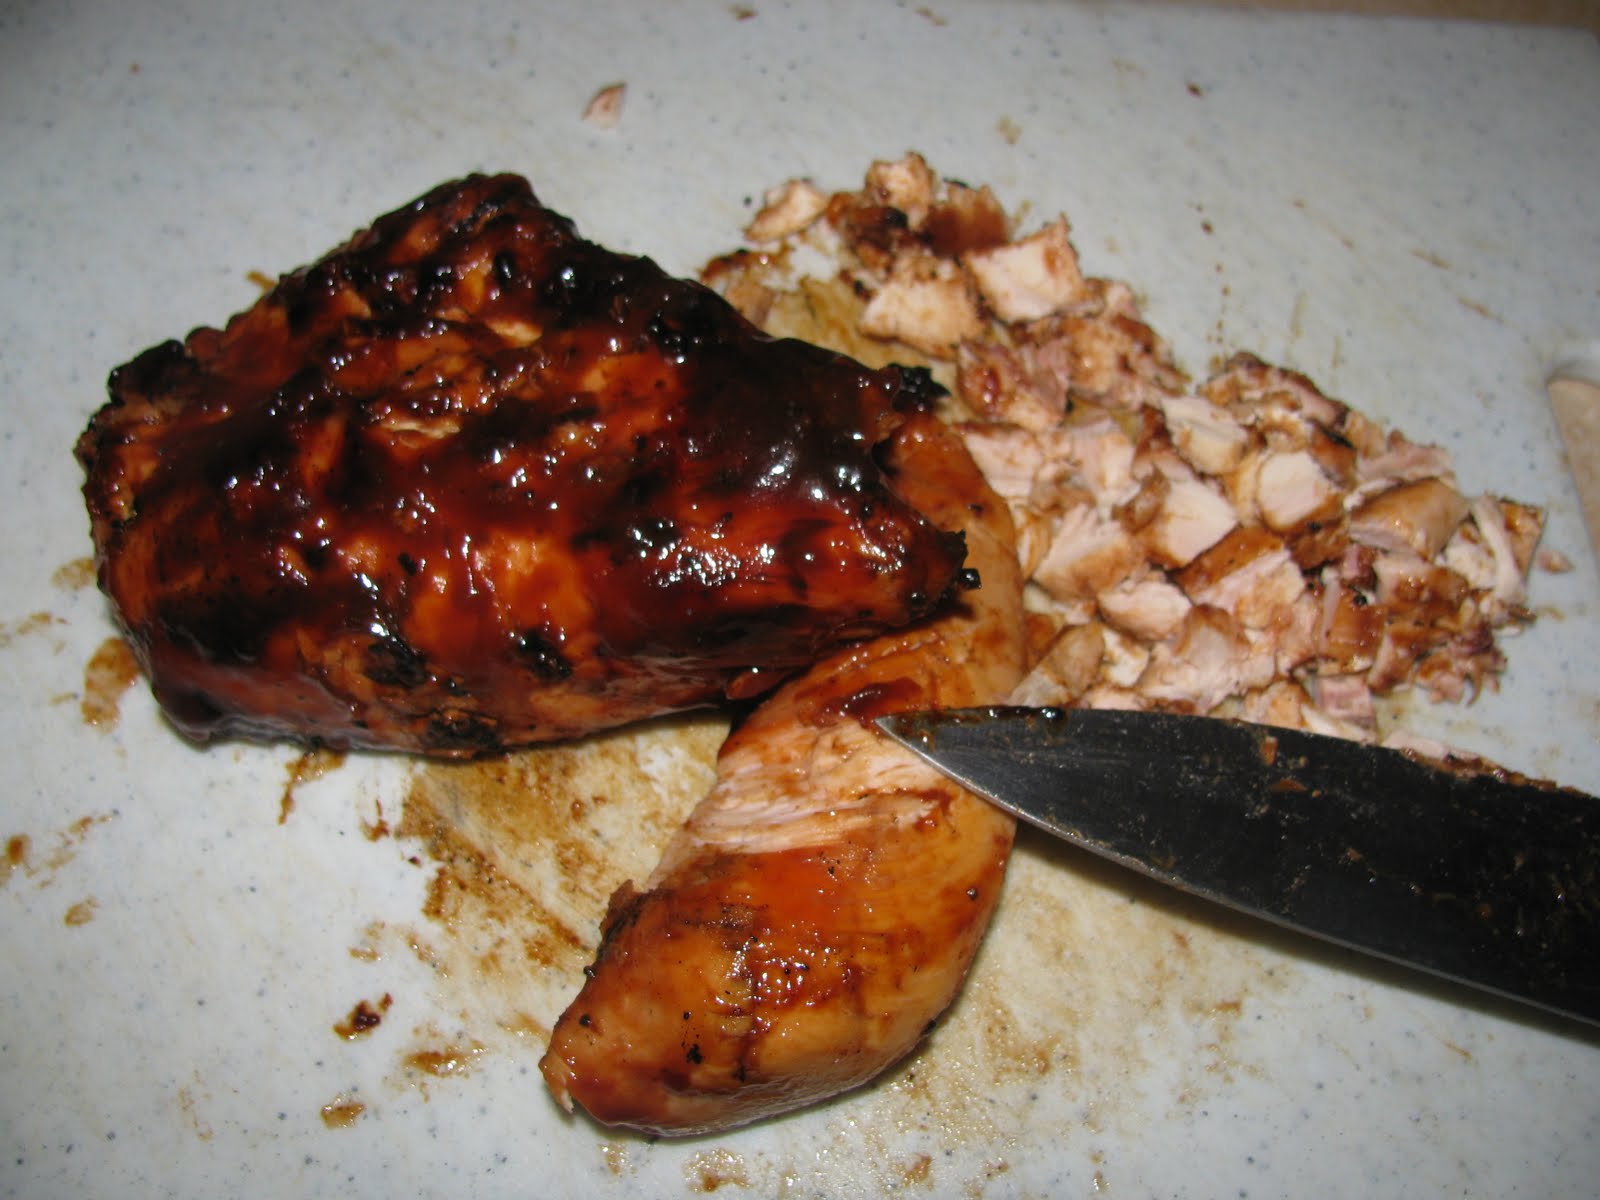
| I have chopped up 3 boneless skinless chicken breasts into bite sized pieces. |
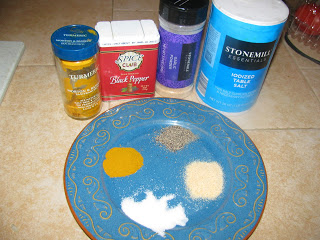 |
For spices you are going to need 1 1/2 tsp salt, 1 1/2 tsp garlic powder,
1 tsp of black pepper and 1 tsp turmeric. |
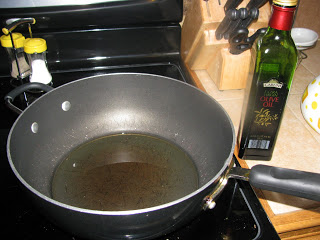 |
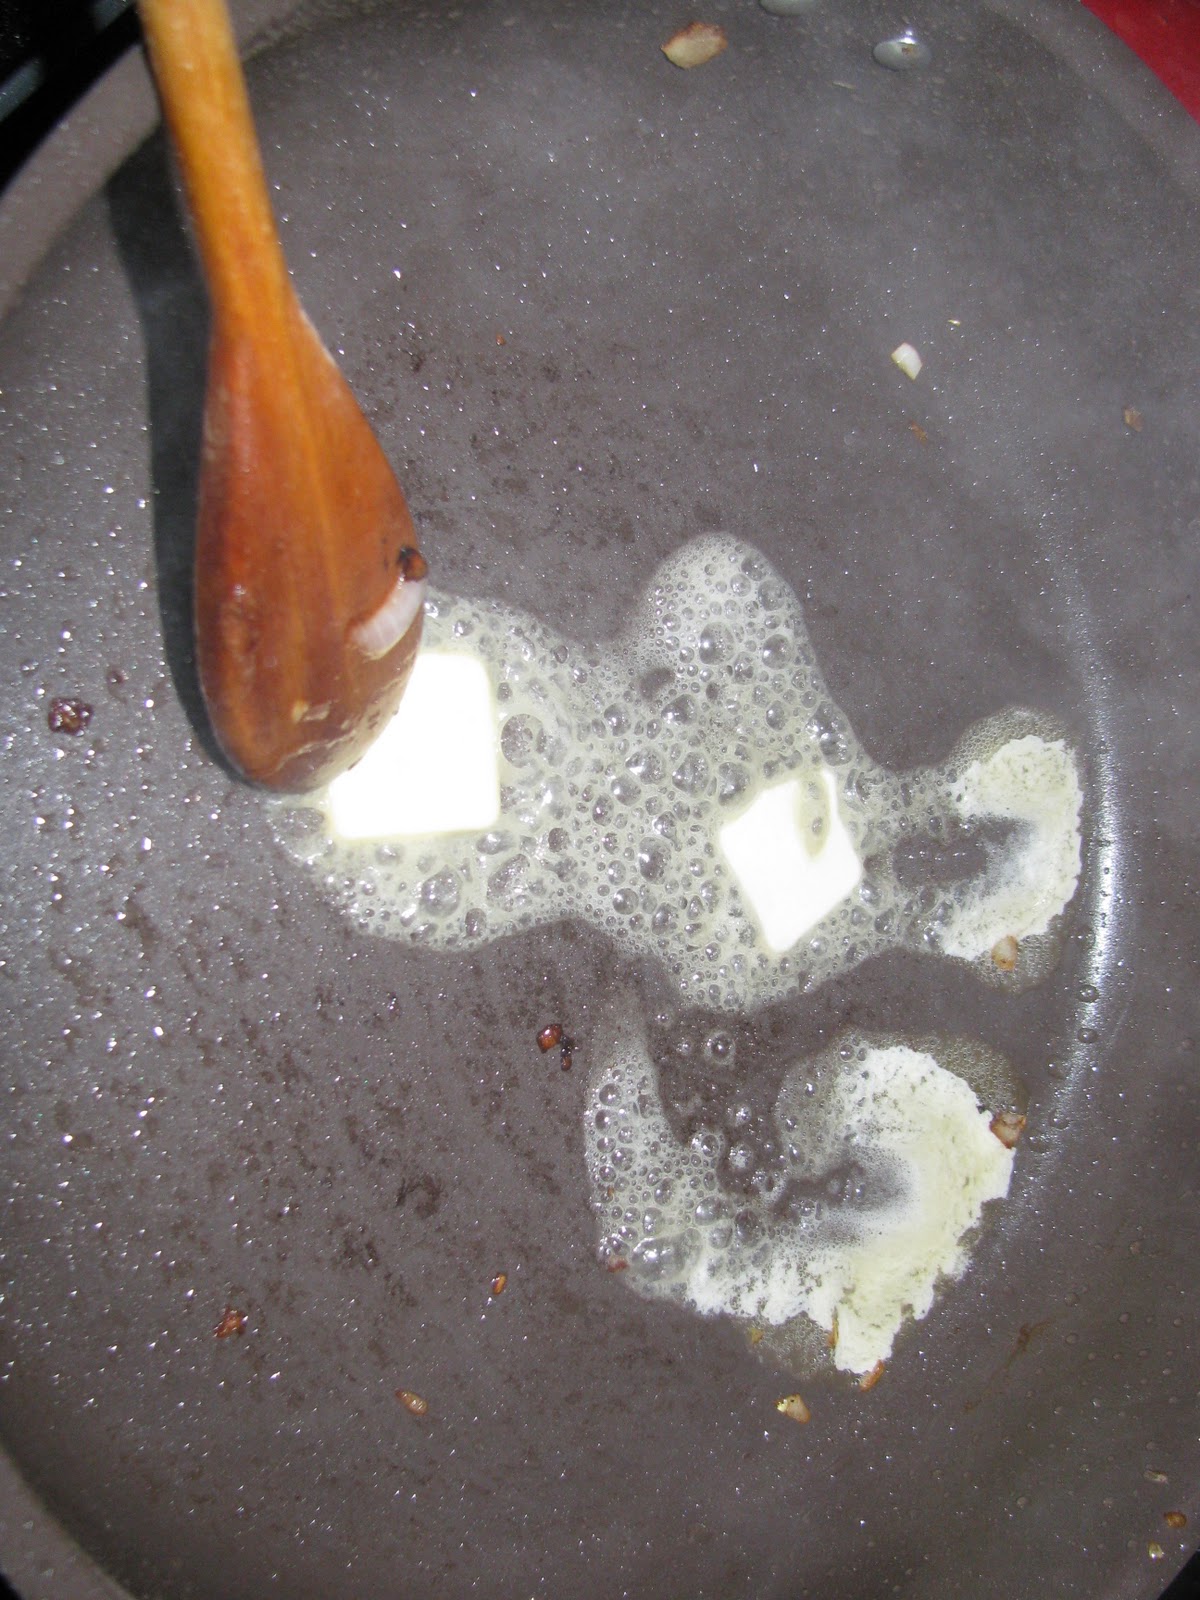
| In a large skillet heat 2 tablespoons of olive oil over med-high heat. |
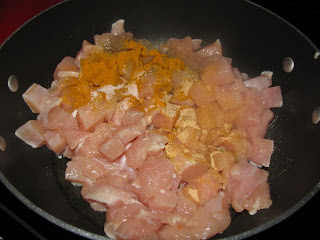 |
When pan is hot add your chicken breasts and seasonings. cook
6-8 minutes or until chicken is cooked through. Remove from pan and set aside. |
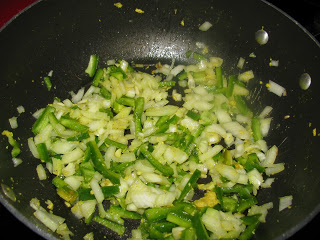 |
In the same pan heat another tablespoon of olive and heat over med-high heat.
Add the green peppers, and onions. Cook for about 4-5 minutes or until they are starting to get tender. |
 |
Add the mushrooms and tomatoes and cook another 2-3 minutes or until the veggies are
tender add the garlic and cook a minute longer. *Please note that you may have to adjust the cooking temperature of your
stove top* |
 |
Add the chicken back in and stir well. Turn your heat down to low.
Get your tortillas ready. *If microwaving your tortillas do it now. I add 2-3
at a time and heat for 15-20 seconds and repeat until all tortillas are warmed* |
|
|
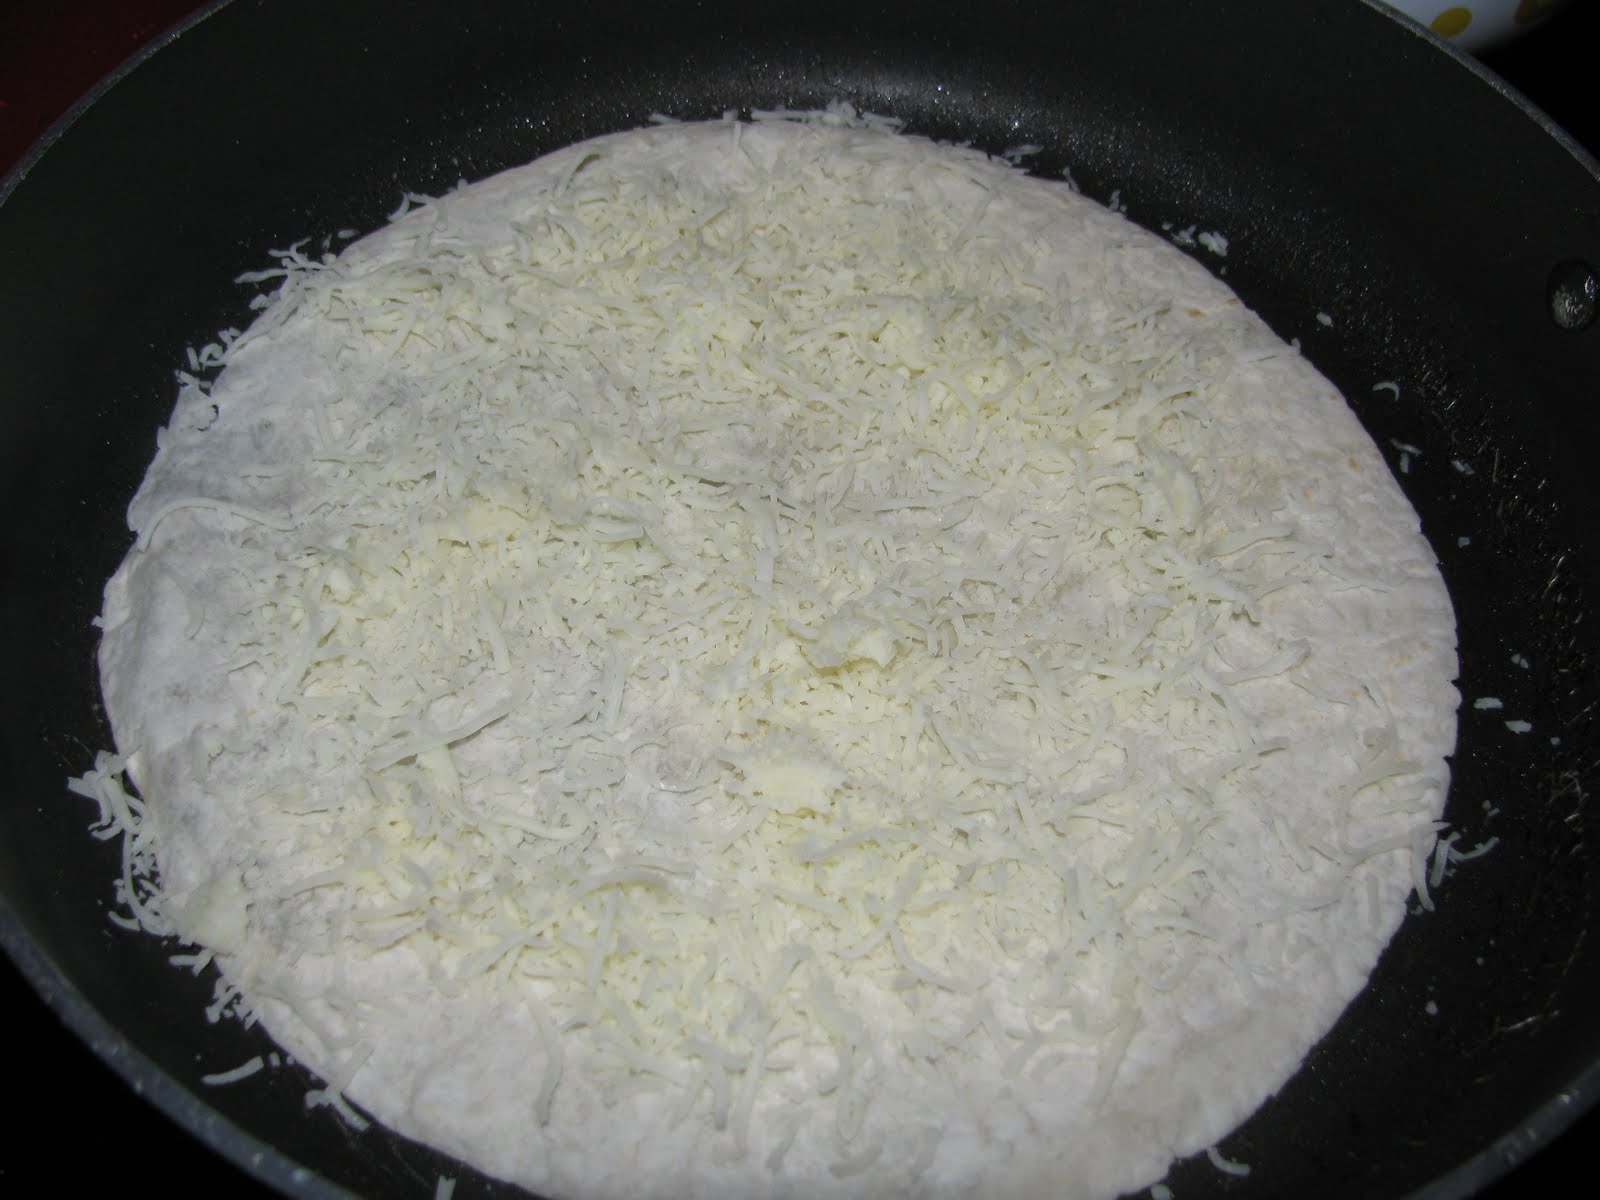
Add filling to center of tortilla and sprinkle on your favorite
cheese ( I used a Mexican 4 cheese blend).
Wrap up like a burrito and enjoy! Makes 6-8
burritos.
Ingredients
3 boneless skinless chicken breasts
1 large green pepper
1 large onion
2-3 Roma tomatoes
1- 8 oz. package fresh mushrooms
3 garlic cloves
olive oil
1 1/2 tsp salt
1 1/2 tsp garlic powder
1 tsp black pepper
1 tsp turmeric
6-8 of your favorite tortillas (burrito size)
Your favorite shredded cheese
|
Instructions
-Chop green pepper, onion, mushrooms and tomatoes into bite sized pieces.Finely chop the garlic set aside
-Chop chicken breasts into bite sized pieces. In a large skillet heat 2 tablespoons of olive oil over
med-high heat. When pan is hot add the chicken and spices. Cook 6-8 minutes or until cooked
through. Remove from pan.
- In the same pan add another Tablespoon of olive oil and heat over med-high heat. Add the green pepper and onion. Cook 4-5 minutes or until they are starting to get tender. Add the mushrooms and tomatoes and cook an additional 2-3 minutes or until the veggies are tender. Add garlic and cook a minute longer.
-Add the chicken back in the skillet and mix well. Turn heat down to low.
-Prepare your tortillas by heating them up a bit (if you desire) in the microwave 15-20 seconds
or in a warm oven for 5-10 minutes.
-Add a heaping spoonful in the center of the tortilla and sprinkle on your favorite shredded cheese.
-Wrap up like a burrito and enjoy! Makes 6-8 wraps.
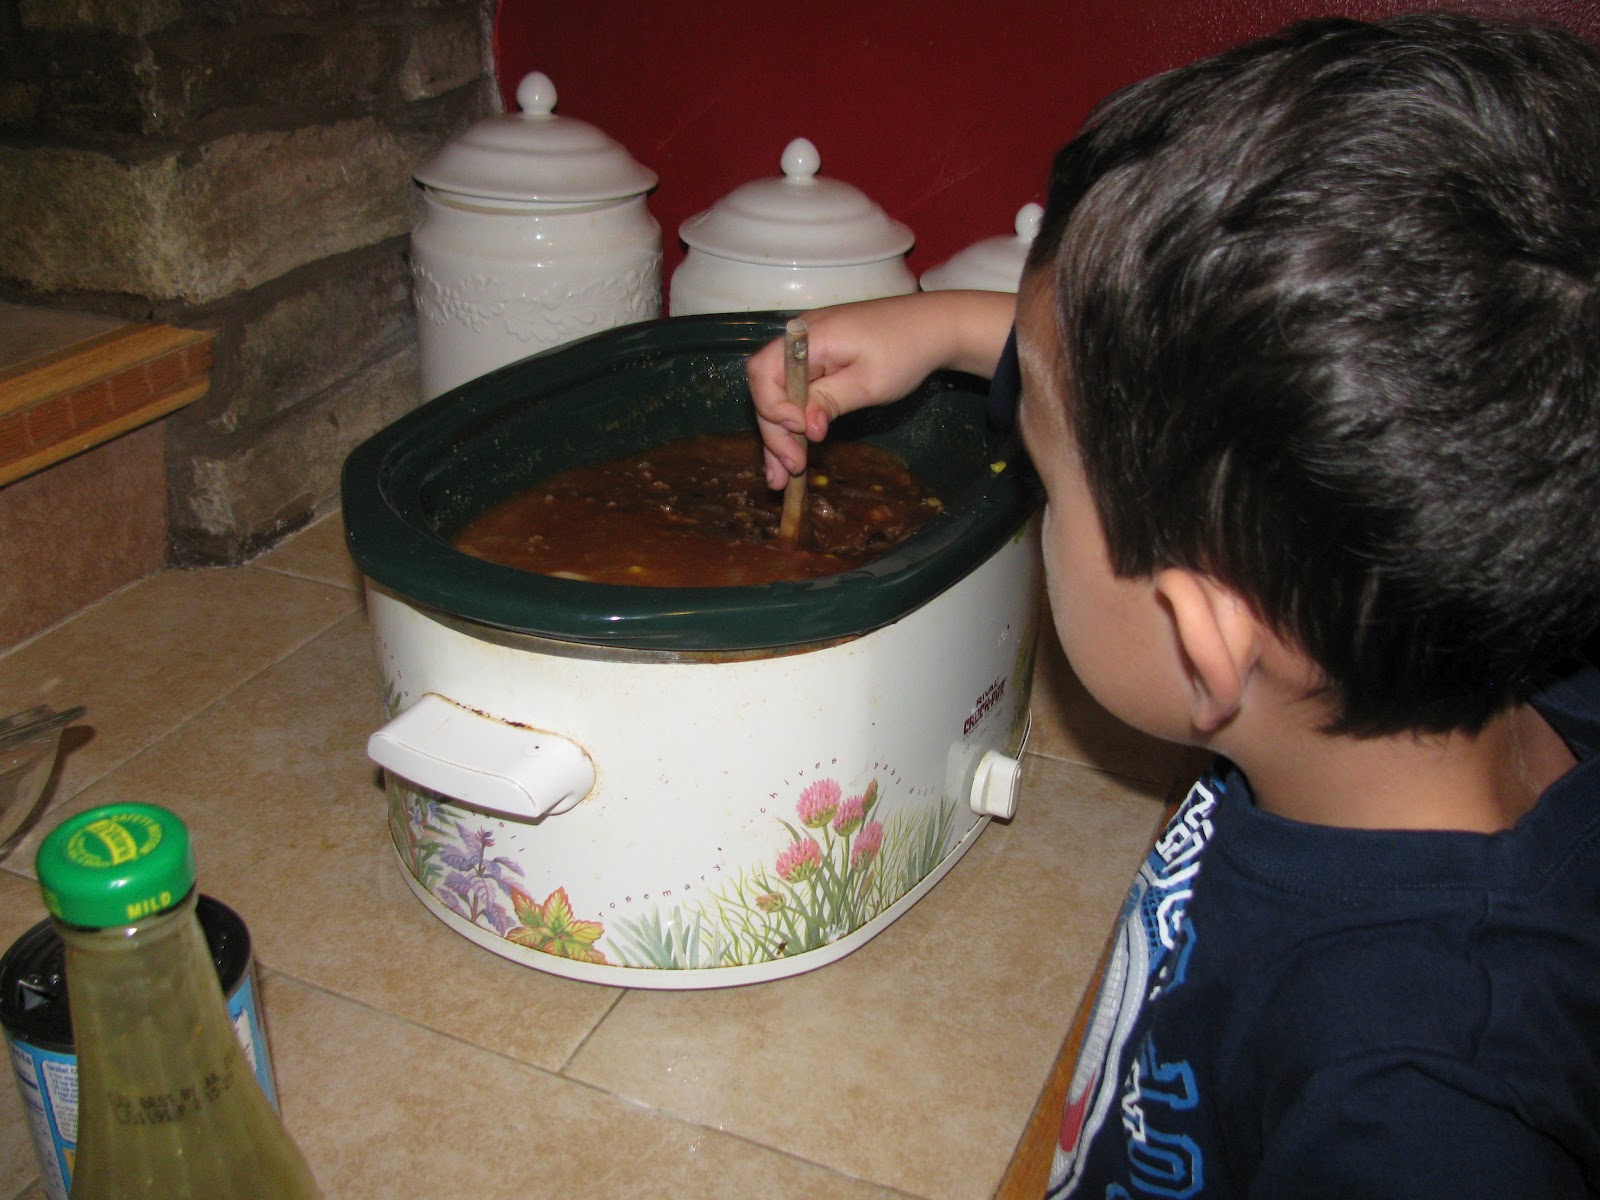
Another great add to these wraps is fresh flat leaf Italian parsley. It gives it such a fresh summery taste! Have fun and experiment with different spices and ingredients. It is fun to get the little ones in the kitchen and let them "design" their own. Our children are more likely to try something new and enjoy it if they had a hand in helping to make it. Thanks for visiting!
~Be Blessed and be a Blessing~
Rebecca
~Luvmybebebugs~
Copyright © 2013 · All Rights Reserved · www.andasprinkleoflove.com
Tags: 30 minute meals, and a sprinkle of love, believers, Bible, blessed, blessing, blog, burdened, chicken wraps, children, christ, Christian, Christian blog, Christian mother, Christian wife, Christian woman, christianity, comfort, cooking, cooking with kids, dinner, easy, easy dinner, easy recipes, economical meals, Encouragement, Eternal Vaue, faith, family, family meals, fast dinners, food, God, homemaker, homemaking, housewife, husband, Jesus, Joy, kitchen, Lord, love, meal ministry, meal planning, media, menu planning, motherhood, parent, parenting, Pinterest, quick dinner, recipe, scripture, Servant, servants heart, serving, simple weeknight meals, teaching, tortillas, transformation, trust, Truth, wife, Woman, wraps